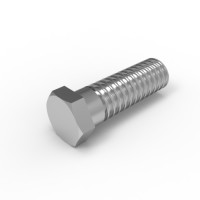
I recently got a comment from a reader of this blog asking me to do a tutorial about how to model a threaded rod in AutoCAD, but I actually thought we have already gone through this topic while we talked about how to draw a spring in AutoCAD.
It turned out that the latest tutorial, while showing you how you can easily model a threaded rod in AutoCAD, I was not explicit enough for some of you to replicate the example.
This one will be a step by step tutorial helping you to model a threaded rod in AutoCAD.
I will start by recommending you go through this topics if you have not done so to acquire the skill we need for this tutorial.
- What you need to learn on your day 1 using AutoCAD (where you learn a little about the right setting that helps you go faster in AutoCAD)
- How to draw a spring in AutoCAD (Where you learn how use the HELIX command in AutoCAD)
- Using UCS in AutoCAD (We will be rotating the UCS in this tutorial, and you need to have worked with this feature in the past)
- Using the command windows in AutoCAD (Where you learn how to use the command window in AutoCAD if you have not done so yet)
- The 3 most used command in AutoCAD 3D (Where you learn about the SUBTRACT command in AutoCAD)
- Basic Tools in 3D in AutoCAD (Where you will be learning about the REVOLVE command in AutoCAD)
- And of course these AutoCAD Exercises.
Alright!
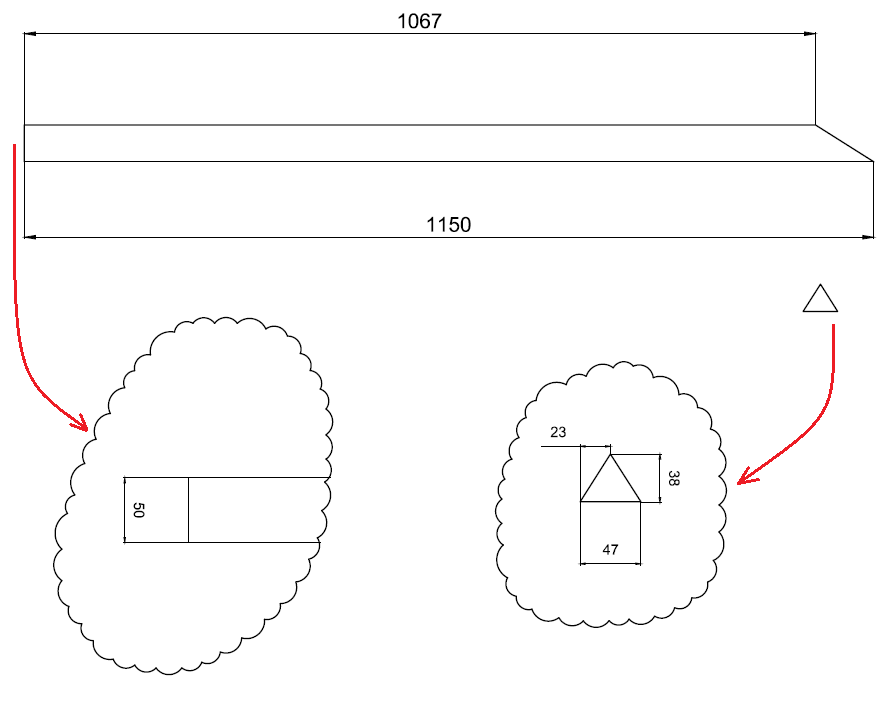
Here is the figure we need to start with.
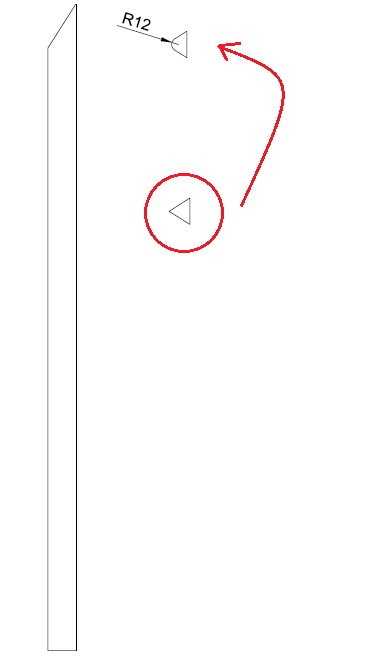
So basically we will be having these following 2 objects. (One the angle on the primary triangle have been curved using the FILLET command and the Radius is indicated on the figure below)
Step 1
Use the REGION command on both 2 objects. You simply need to type REGION in your command window, Select everything on your drawing window with your mouse and validate.
Step 2
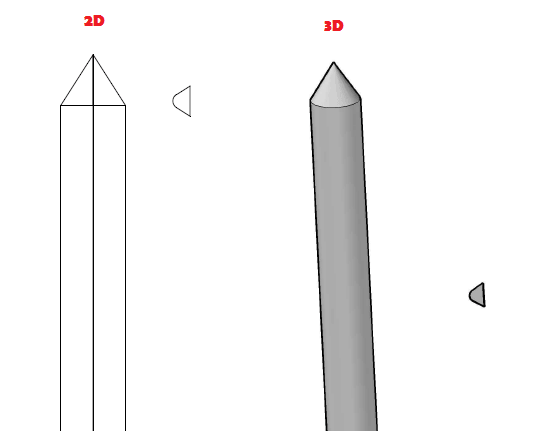
After using the REGION command, Use the REVOLVE command on the giant figure such as having the following figure.
Step 3
Draw a Spring.
U may need to rotate the UCS to be able to draw the spring with the needed orientation.
If while trying to draw the spring, you find out that your circle are lying on the wrong plane, rotate your UCS.
In my case I had to rotate the X axis of the UCS by 90 degrees.
To do so.
Type UCS in your command window and validate
Type X and validate two times
The command windows should look like this (The part in Bold is your input)
Command: ucs
Current ucs name:  *WORLD*
Specify origin of UCS or [Face/NAmed/OBject/Previous/View/World/X/Y/Z/ZAxis]<World>: x
Specify rotation angle about X axis <90>: Hit ENTER without writing anything
What happened in the fourth stage is that, the default value is 90 degrees, that is the reason why we did not enter any value.
Step 4
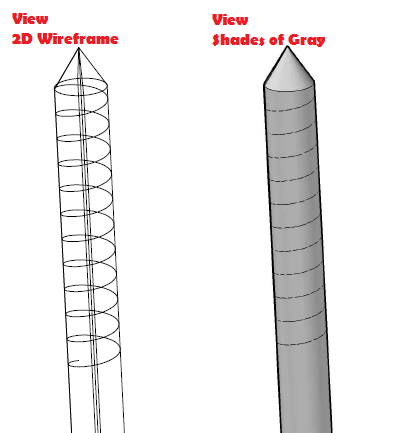
Now lets try creating a spring using the HELIX command.
Create a Spring all along the length of the giant object.
it should look somehow like this
Step 5
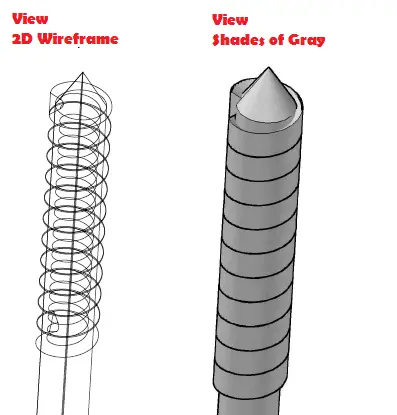
Using the SWEEP command.
We will use the small triangle as reference figure, and use the spring as the sweep path.
Actually the position of the small reference figure (the triangle in our case) affect the shape of threads. If you are not getting exactly the figure above, try rotating the triangle about one of its edge with 180 degree, and try again to SWEEP and adjust your technique accordingly.
Step 6
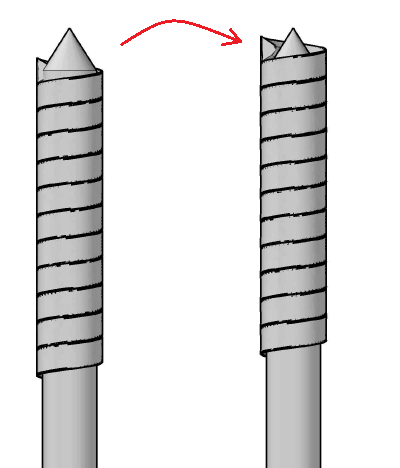
In the following step, you need to move the thread a little upward along the figure axis in a way it will be at least at the same ending geometry with the tip of the cylinder for the threads to be having an entry path.
Step 7
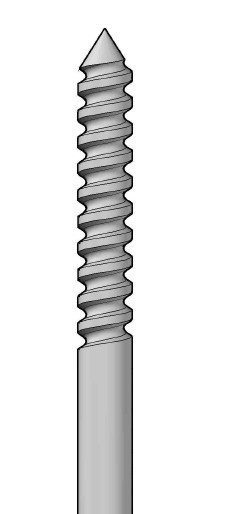
At this stage, we are done.
All we need to do now is to subtract the outer figure from the inner figure.
There in more than one way to model a Threaded rod in AutoCAD, another way is to create a shape on a right form and add it to your cylinder, Ellen Finkelstein wrote about this.
Feel free to drop your concern below and let me know you have just modeled your first Threaded rod in AutoCAD.

