CATIA is one of the most used software in automobile and aviation because of its advanced surface modeling techniques. Very complex surfaces can be modeled in CATIA. Popularly its Generative Shape Design workbench is used to design surfaces.
One might wonder why surface modeling is so important. During the conception of a car, this technique is needed to get surfaces as smooth and neat as you can notice looking at the body structure of any car coming out today.
Surface Modeling in CATIA
In this tutorial, we will learn how to start with Generative Shape Design (GSD). We will learn important commands from this workbench.
You will find GSD in Shape.We want here to see how to use the most commonly used command for surface modeling.
Surfaces
Extrude, Offset, Sweep, Fill are few of the important commands from Surfaces toolbar. As the name suggests, to create a surface this toolbar is used. Let’s see how to use these commands.
Extrude
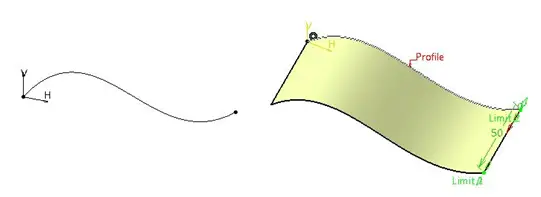
I have drawn a spline. Click on the Extrude and select the profile. It will create a surface. You can specify particular direction to extrude.
Offset
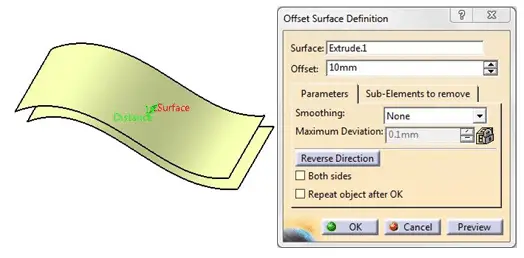
The Offset command is used to create offset surface of a previously created one. Let’s create offset of this extruded surface.
Click on Offset command. A dialog box will pop up. Give the offset distance and click OK.
Sweep
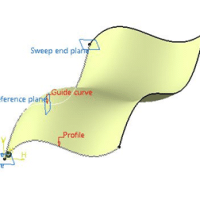
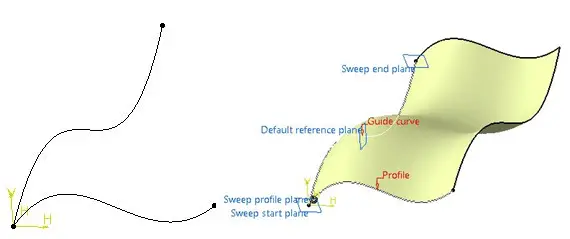
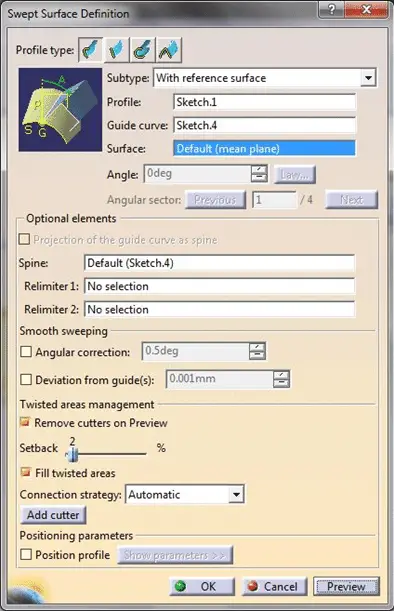
Similar to Rib command in Part Design, Sweep needs a profile and a guide curve. When you click on Sweep command, a pretty big dialog box appears, but don’t worry. It just means, it has more advanced features in it. But we don’t need them right now. Just Select one curve as Profile and other one as Guide curve and see the preview. You will get desired result.
Fill
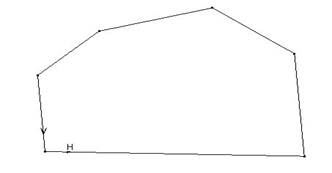
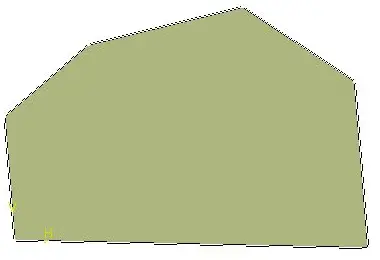
Until now we have used open surfaces. Sometimes we want certain planar surface which cannot be extruded, such surfaces can be created using Fill. It needs a closed sketch. Let’s see.
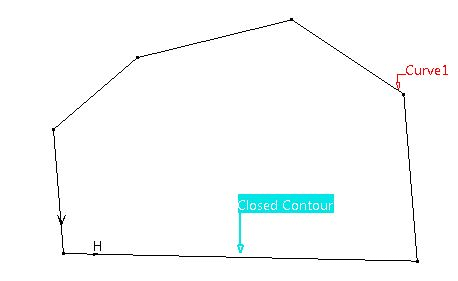
I want a surface with boundaries as shown in the figure.
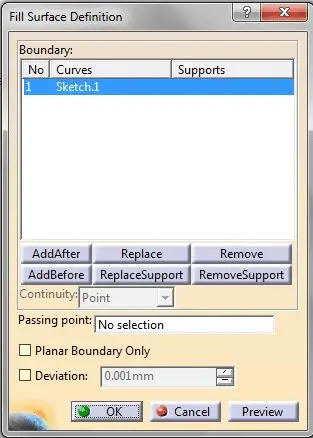
- Click on Fill command.
- In the dialog box select above sketch as boundary.
- See the preview.
And click OK to get the required surface.
Until now, we have seen how to create surfaces. In next tutorial, we will see how to perform different operations on the surfaces.

