It could be very tricky modeling a fan blade in AutoCAD using basic commands. This will be very difficult to achieve if you have not been playing a lot with surface modeling.
Here is a simple step by step tutorial about how you can easily model a fan blade in AutoCAD.
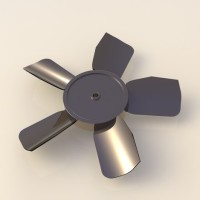
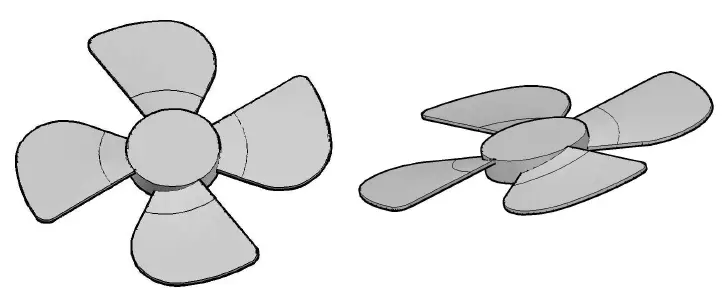
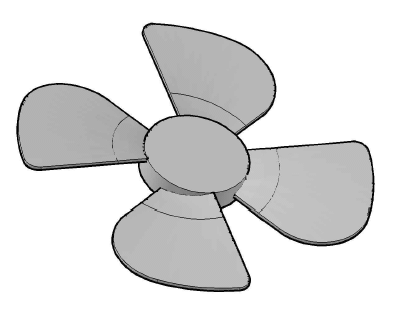
Below is the image of a fan blade modeled in AutoCAD.
Modeling a fan blade
Note: Dimensions are not important in this session, I want you to focus on the procedure, and later on you can set some dimensions to your own design to make it more realistic. But again, the most important here is the series of commands you need to make use of in order to come out with such a result.
Step 1
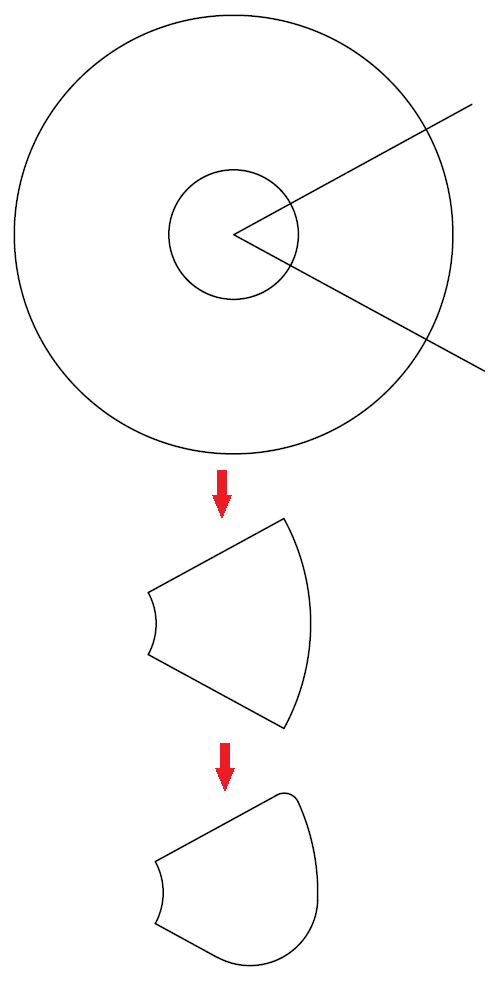
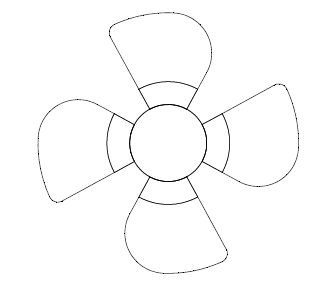
We will need two circles and two lines such as displayed on the figure below. This will help us get the blade in two dimensions using the TRIM command and the FILLET command.
Step 2
If you add up the small circle we just used while trimming, the image will have the look lo below.
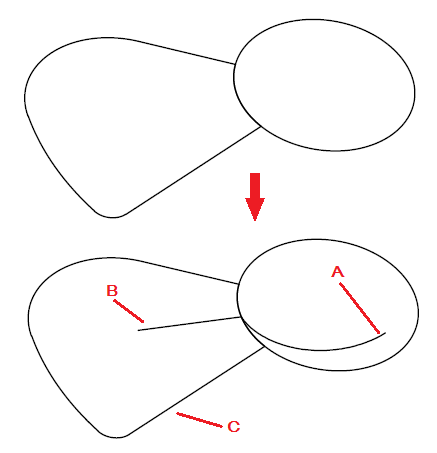
Add a small line (B) on the side of the circle and use the command line HELIX to get the object A.
Note: The object A was created using the HELIX command and the small circle, which is the reference for the HELIX center point and diameter, but you need to use the feature TURN to have a 0.3 turn or so)
Step 3
Now we use the object B and the object A.
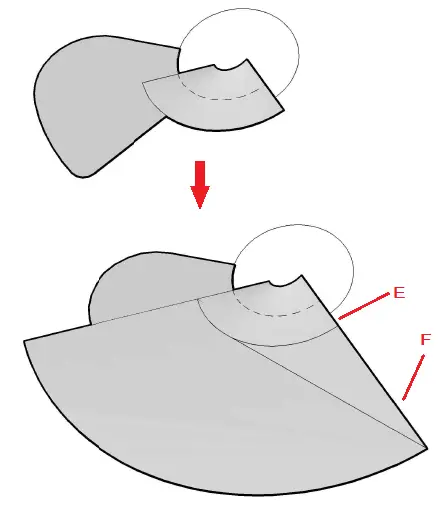
Use the SWEEP command and sweep B with A as a path. It will give you the first figure below. Now we need to extend the surface resulting from this for it to be bigger than our 2D fan blade modeled previously.
Note: While using the SWEEP command, object B can not be longer that the radius of the circle, that is the reason why we need to SWEEP and then EXTEND the surface.
After Extending, the extension will be a different object from the original object. We will then have a surface E and a surface F.
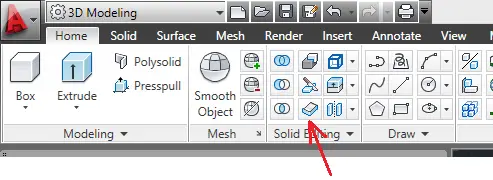
Here is where you can find the EXTEND command in AutoCA
Step 4
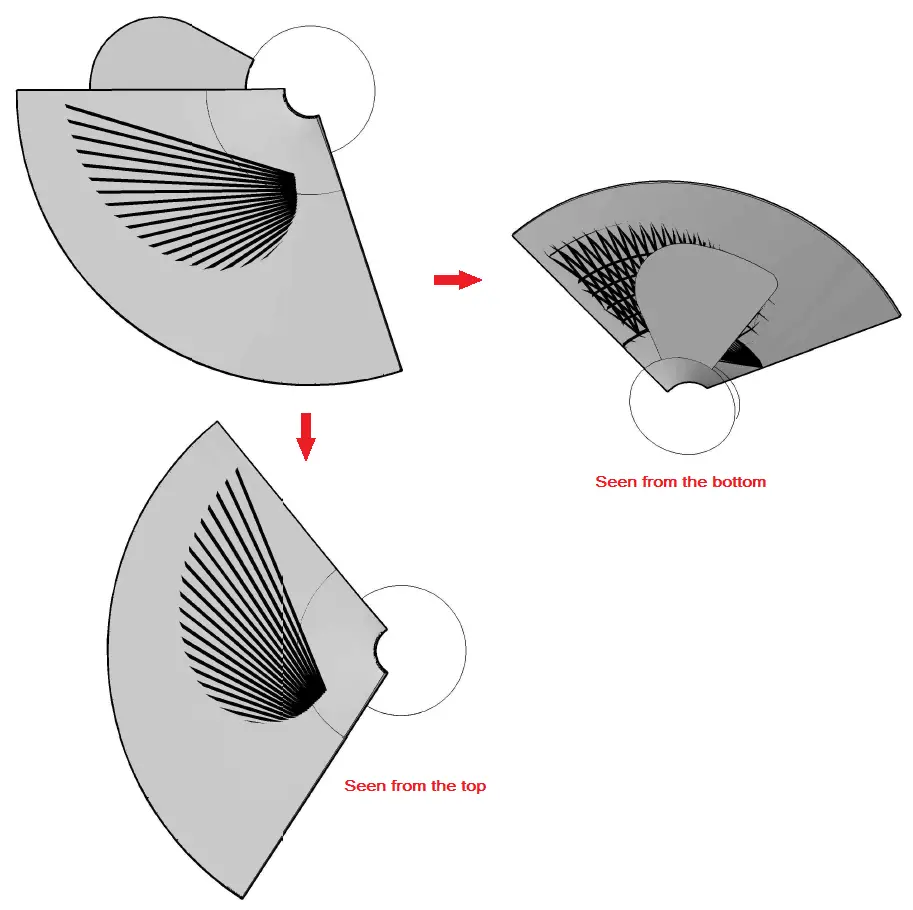
We now need to give a thickness to E and F using the THICKEN command. This thickness will basically be the thickness of the blade.
Thicken E and F
Step 5
Use the UNION command to unite E and F.
And rotate the Resulting object around the circle to have it totally covering the 2D blade created at the beginning.
Step 6
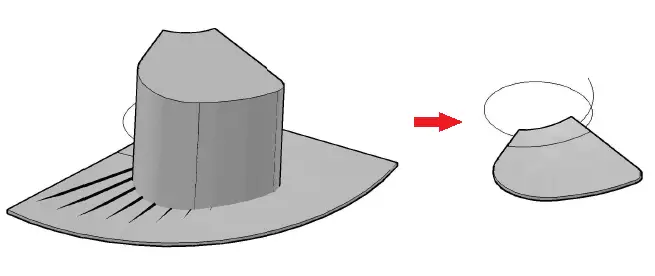
Use the REGION command on the 2D blade, Extrude it and use the INTERSECT command to get the blade in 3D.
Step 7
Simply Use the ARRAY command to get similar objects around the center of the blade. And model the center of the fan blade which is just a circle extruded to the wanted dimension.
We have just finished modeling a fan blade in AutoCAD.
Feel free to drop your opinion or your questions below in case you are not fully getting a part of this tutorial.

