You most probably know that tires play a major role in suspension of an automobile and diminish fuel consumption. And tires shapes varies according to the nature of the road.
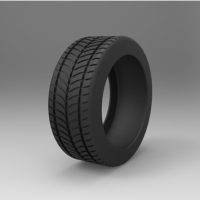
In this tutorial, we are going to do some modeling, and the object we will be modeling is a car tire. We are going to use CATIA for this task.
Along the way, we will also learn how to use commands like COMBINE and finding the shortest way to get our tire modeled.
Let’s right dive into it.
Step 1
I will recommend to always start will simple sketches when dealing with complex 3D object in CATIA.
Draw a simple sketch and add primary features like PAD or SHAFT.
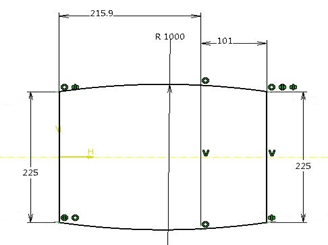
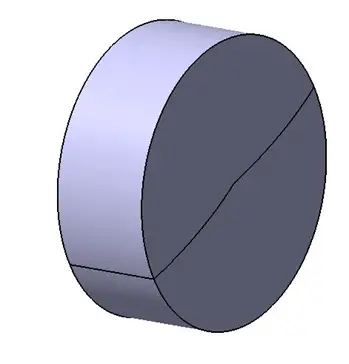
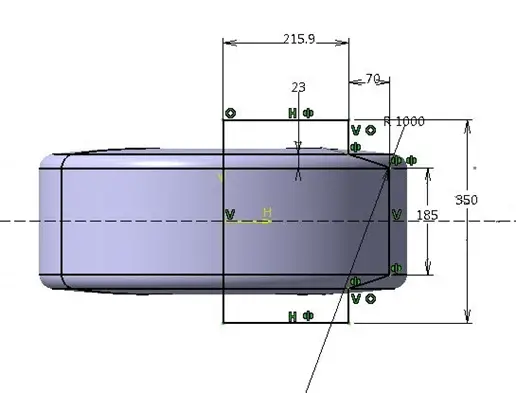
The dimensions I have taken to draw the overall profile of tire are mostly similar to standard real dimensions. Draw the profile and revolve it using Shaft command. You will get the figure below.
Step 2
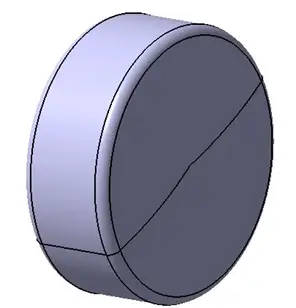
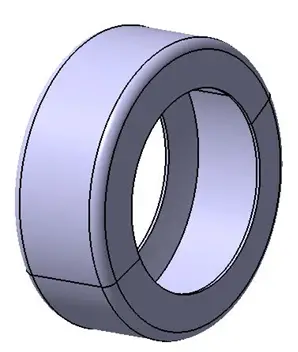
Using Edge Fillet command, give rounded shape to external edges.
Step 3
Now we will remove the material from this to get a more tire like object.
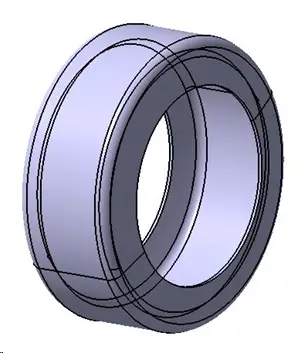
Draw a profile as shown and remove the material using Groove command.
After using Groove command and removing material you will get the following object.
Here I have reoriented the figure for proper visualisation.
Step 4
Give rounds to the inside sharp edges as shown. Rounds or fillets are necessary to avoid stress concentration.
Step 5
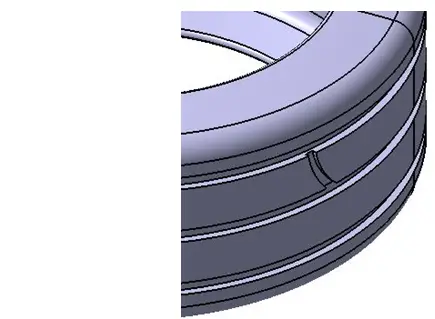
Now we will move towards the Tread Area of the tire. First we will cut the profile as shown.
Draw three rectangles in sketch with proper dimensions and give the cut by revolving it.
Step 6
In this step, we are going to give cuts to the above part to create treads. To give a cut we will need a 3D curve along which we can remove the material. We can achieve this with the help of Combine command. The Combine command needs two sketches.
We have to draw the two 2D curves placing the design in two 2D different views.
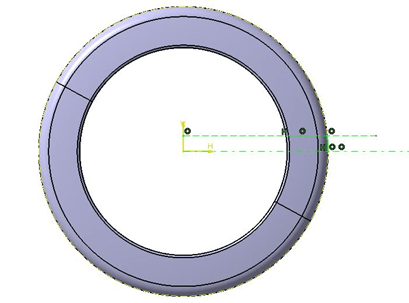
Draw a sketch as shown.
In the side view, we can get the height of the tread.
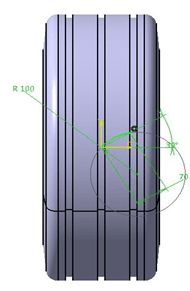
Draw another sketch as shown below.
In this view one can see how the tread moves on the tire and the length of tread.
We have two sketches now. Let’s see how to create a 3D curve which will give the effect of above two sketches. Go to GSD Workbench now. (You can switch from a workbench to another)
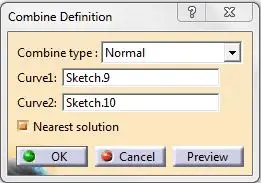
In the Insert-Wireframe you will find the Combine command. Click on the command icon and select the two sketches we’ve just drawn. Click OK.
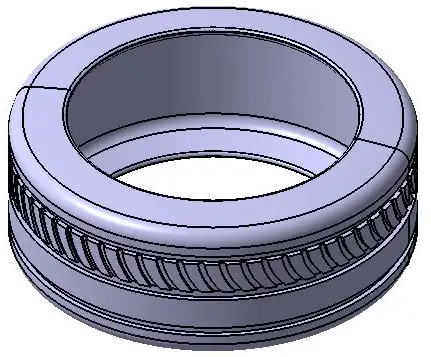
You have got a 3D curve. Now switch on the workbench to Part Design. Using Slot command, give a cut with proper cross section of the tread.
Step 7
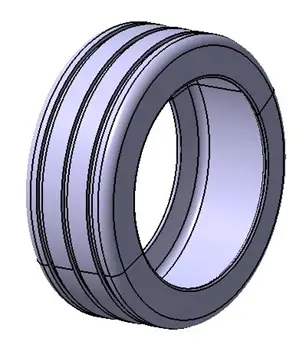
Make a pattern of treads using Circular Pattern. You are almost done with creating a complete tire at this point.
Step 8
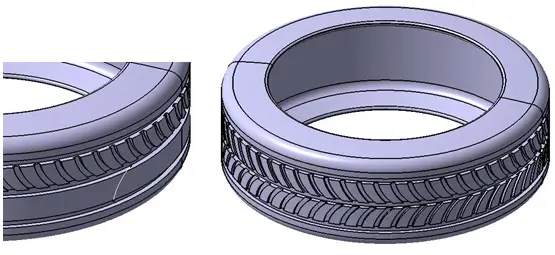
Use the Mirror option to create the same pattern on the other side of the tire.
Step 9
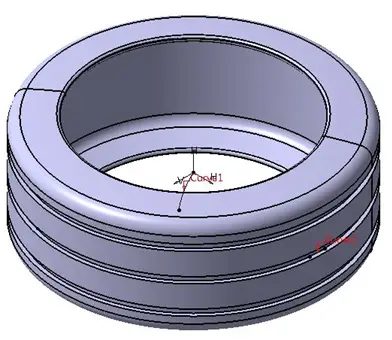
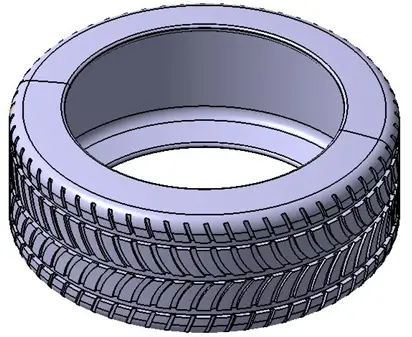
We also have treads on the edges. Use the same technique as in previous steps to get them done
All you have to do is just draw the two sketches, create a 3D sketch out of them using Combine, draw a cross section of tread at the end of 3D curve and cut the slot.
The treads on the tire look beautiful, but they have functional importance too.
Those treads are designed such that they help avoiding the vehicle to skid on slippery ground.


Comments
One response to “Modeling a Car Tire in CATIA”
Superb 🙂