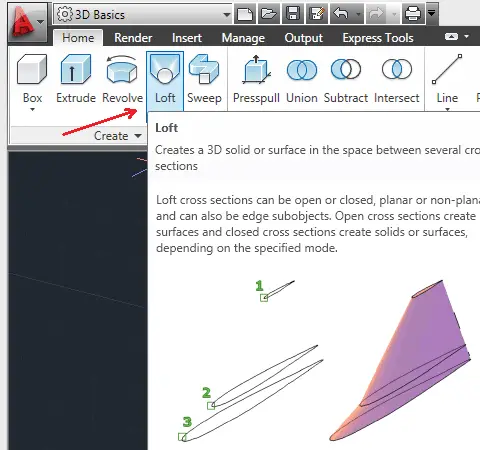
The LOFT command is a not very popular command among beginners using AutoCAD but at some point of the learning process, you will the need to learn how to use and play with this command.
The LOFT command has many unique features and the results you can obtain with it are hardly similar when combining several other techniques.
Example using LOFT Command
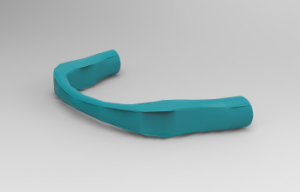
Let’s start off with an example. The final goal is this design:
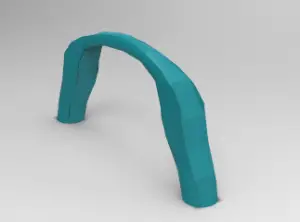
Getting this result with AutoCAD will not be an easy task if one does not learn how to use the LOFT command. Here is a simple and very basic demonstration on how to use the LOFT command in AutoCAD.
Step 1
Getting our primary shape in place:
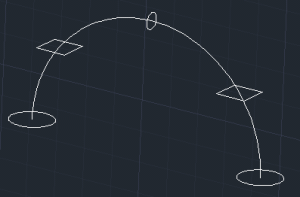
The path, which is an arc, is passing through the center of the 5 figures (3 circles + 2 squares).
(The arc is not useful for the LOFT command. I used it to so I can obtain a symmetric figure at the end. Note that both circles at the base are similar and squares are similar as well)
Step 2
Step 3
After activation of the LOFT command, select the figures one after the order from left to right or from right to left.
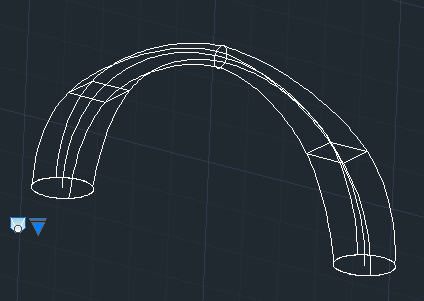
You should obtain the figure above.
Step 4
Play with the shape of the final design by changing features of the LOFT command.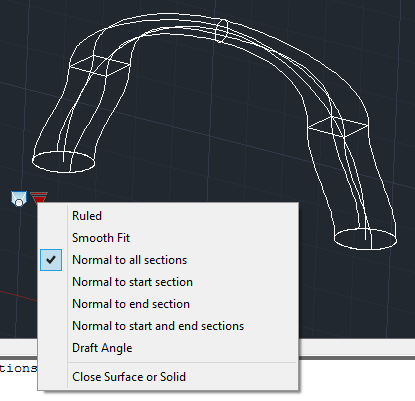
You can now change settings and see how they affect your design. If you are able to produce this example, then you have successfull applied the LOFT command. Now, you can make something more creative using the LOFT command!
Practice Exercise using LOFT Command
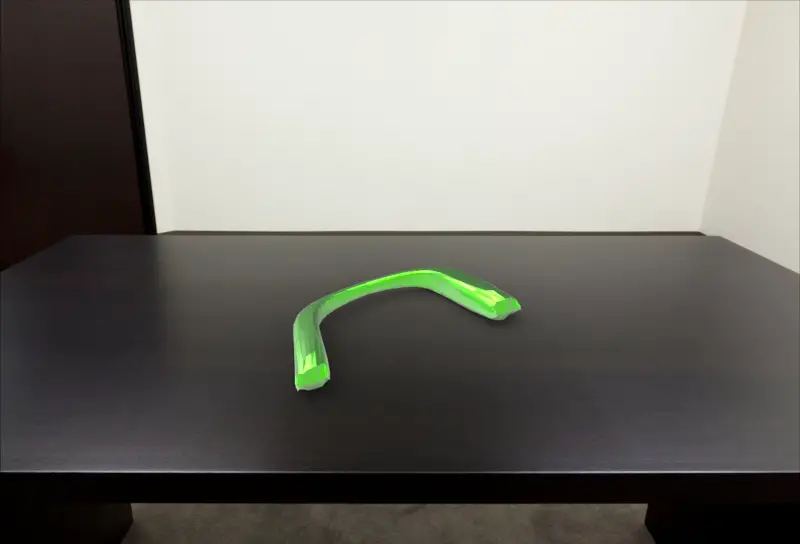
Try to use the LOFT command to create the figure below:
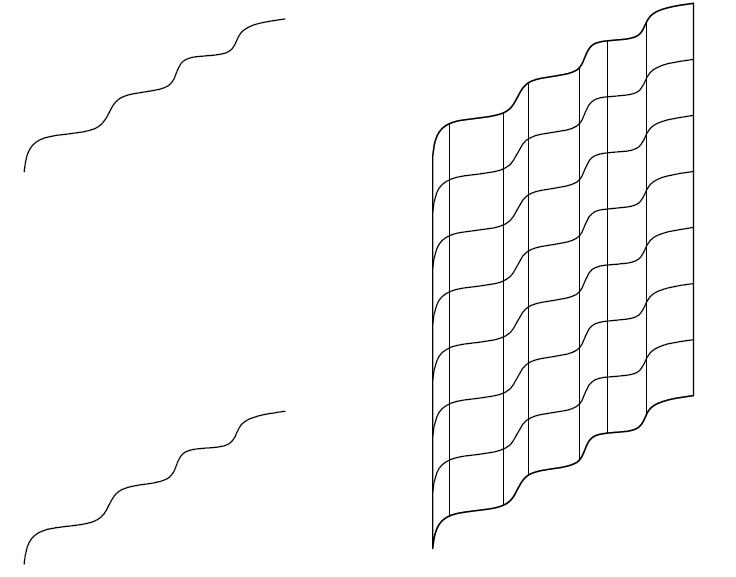
As a tip, the two object on the left are drawn using the SPLINE command. Use those two splines as the edge of your object while using the LOFT command. You should end up with the figure on the right side.
If you were able to complete this exercise, comment below and let us know! Otherwise, we recommend for you to check out the other 100 CAD Exercises we have in store for you!


