As true as it can be that there are many ways you can import your project into other non CAD file’s type for the sake of illustration, it is very common to need to export 2D drawing from AutoCAD to Microsoft Word or PowerPoint.
Yet, they are several ways you can take a 2D image of your project to Word.
AutoCAD offers some command line that help you export file to different type of Image file such as PNG, JPG, BMP and more. You may need to check out how I converted a DWG to PDF lately here.
How to Export 2D drawing into Word
We will first of all talk about command line that easily allow you to export your DWG and convert them into other extensions.
Exporting your DWG to BMP (Bitmap)
In order to export a 2D image into a Bitmap file, you can use to command BMPOUT
- Write BMPOUT
- Choose the directory where you want to save the resulting file
- Use the “windows technique” to select the image you want to export (the image has to be included in the selected area)
- Hit Enter
Once you have the BMP file, you can easily include it in your word files with the “copy and paste technique”
Exporting your DWG to JPG (JPEG)
Use the command line JPGOUT
- Write JPGOUT
- Choose the directory where you want to save the resulting file
- Use the “windows technique” to select the image you want to export (the image has to be included in the selected area)
- Hit Enter
Apply the same technique as above to import the resulting image in your Word file.
Exporting your DWG to TIFF (TIF)
Use the command line TIFOUT
- Write TIFOUT
- Choose the directory where you want to save the resulting file
- Use the “windows technique” to select the image you want to export (the image has to be included in the selected area)
- Hit Enter
Simply copy the image and paste in your Word file.
But most of the techniques above will in many case give you a low resolution image. If the project your are working on does not require images with high resolution, you will want to stick with one of these method.
You can experiment each of these technique individually with the same image and judge by yourself which one give you the best result in term of the quality of the image you are getting once the image is in your Word file.
Exporting a High resolution 2D image from AutoCAD
When you want to have control on the resolution of the exported image, use the plot function of AutoCAD.
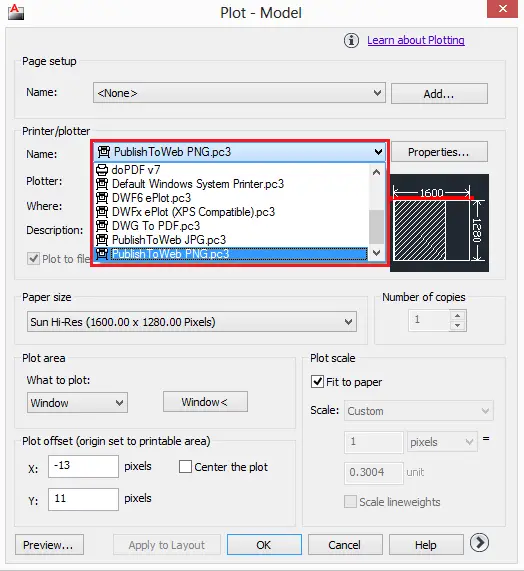
When you hit the PLOT icon (Or simply write PLOT and hit ENTER), you will be brought to the following window
You can observe that you can plot your drawing in a JPG, PDF, PNG files and more.
If you select PublishToWeb PNG.pc3
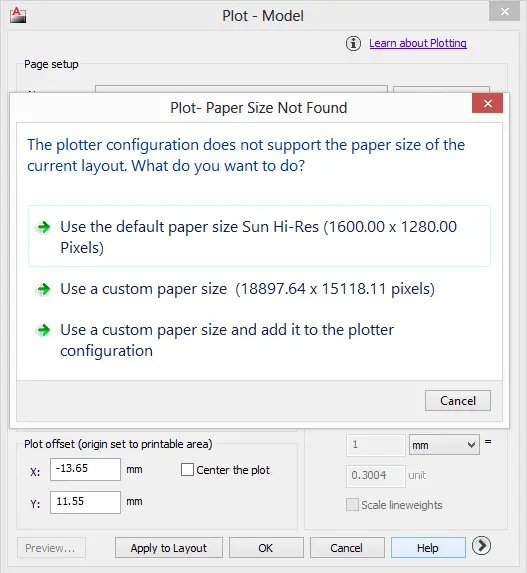
You will be given the option to choose the size of the paper you want to plot in
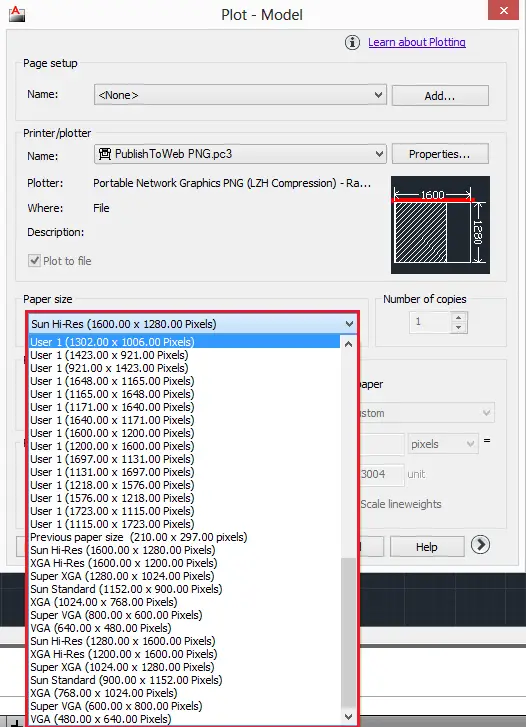
You can as well control the resolution of the image-out using the following list
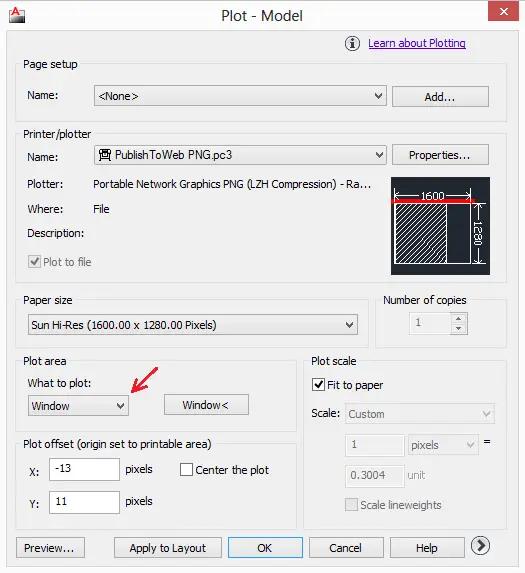
Then use the “window technique” to select your 2D drawing
Hit the OK button when you are done.
You can always come back to adjust your settings if you are not satisfied with the resulting image. Make sure to Apply to Layout to save your settings and use it next time.
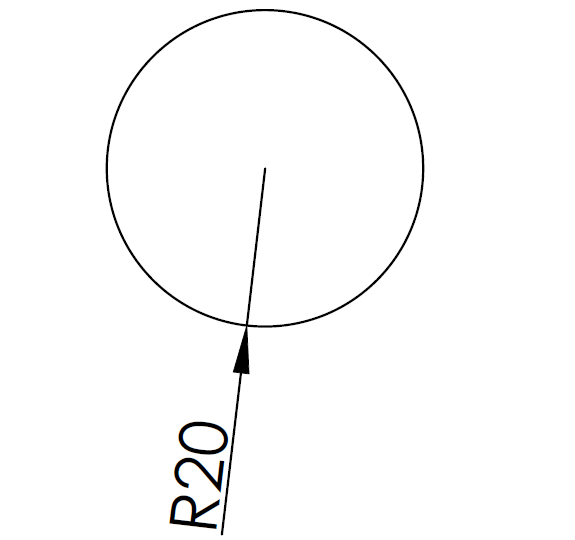
Using this technique you can have a high resolution image like this one
Remember you can always combine techniques and compare. Stick with the one that works best for you
Feel free to suggest the method you are using in the comments below.


