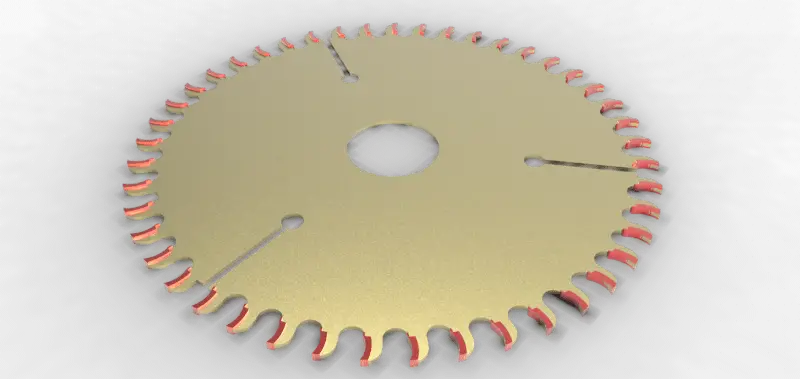
Rendering is one of the most time consuming task while working on a project. Sometime rendering a model can take way too long, and in some case you have to wait for hours just to notice the resulting image of your rendering is not good enough and that you have to make few changes on the model and re render it.
Here is a quick tutorial on basic rendering tips using Keyshot.
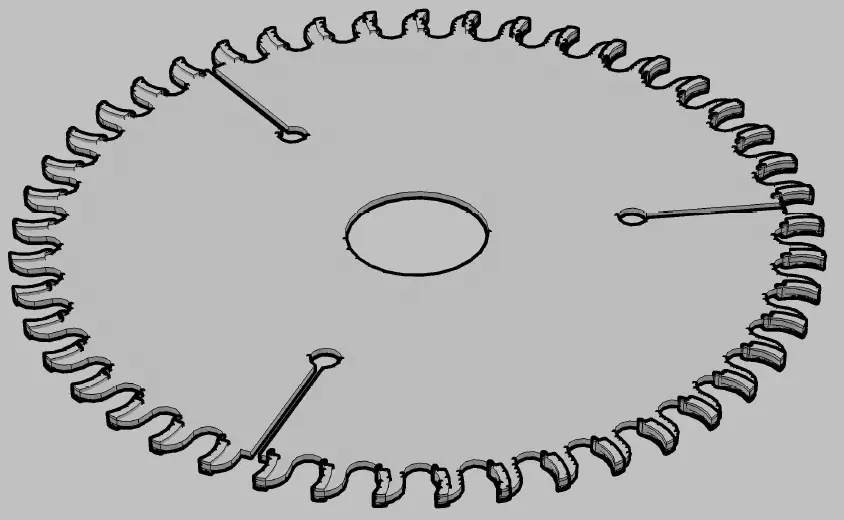
We have a model built on AutoCAD and we will try using keyshot 3 to render it.
Here is what the model looks in AutoCAD.
1. Using Keyshot
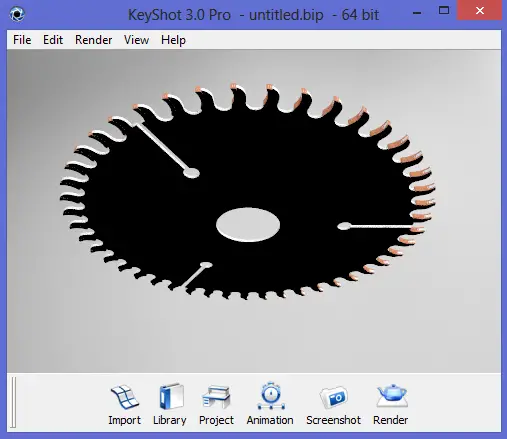
 Keyshot is a relatively easy rendering software. To add my model to keyshot I just have to open the rendering software, drag the dwg file and drop it into the software.
I will need to give the orientation wanted to the model in keyshot and easily play with the software feature to make the model looks more real.
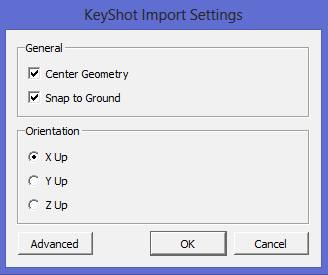
When I drop the model in keyshot I have the choice to make the model stand on the floor or to make it lie, to stick it to the ground of to met it in the air and most importantly to select the suitable view for the final rendered image.
The window below help placing the model with a specific orientation in the software.
Snapping the model to the ground make the model sit on the ground, which in many case contribute to the beauty of the final model and allows you to set some reflection on the floor to make the image look more realistic.
Zooming and padding in keyshot works just like in any CAD software. You can scroll up and down, click, hold and drag to change views. Click and hold the scroll wheel to mode the model.
In keyshot you can add a back image to your rendering, add or remove ground reflection and one of the feature I like is the possibility to have a transparent background on your rendered image.
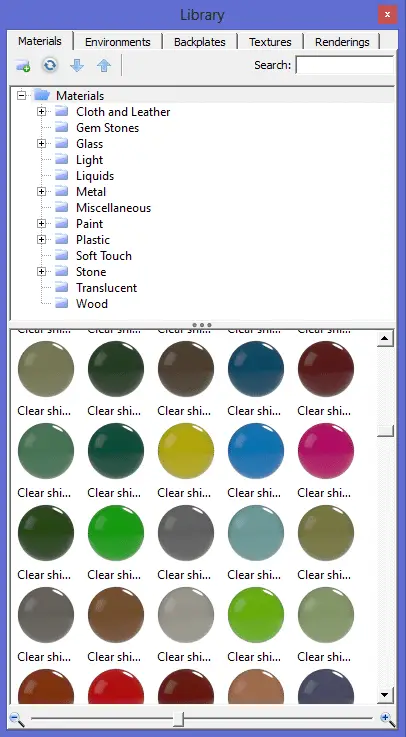
You have plenty of material in the material library just ready to be used.
You can as well create your own material.
To apply a material to a part on your model, you have to click on the material, hold and drop it on the corresponding part.
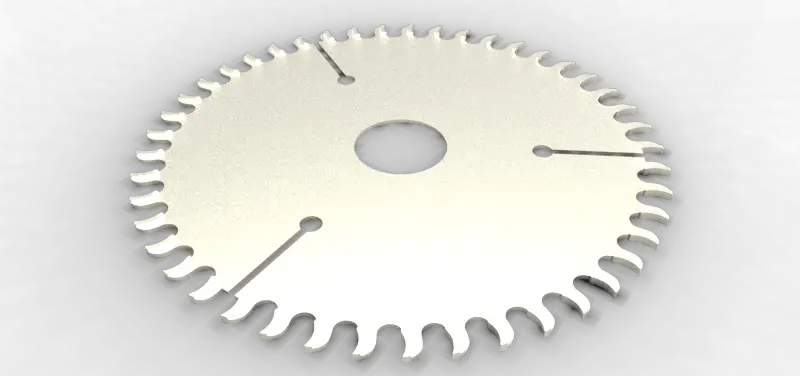
Doing this on our example with the “NICKEL SATIN”, the model will look like this.
You can sense the difference with the original image.
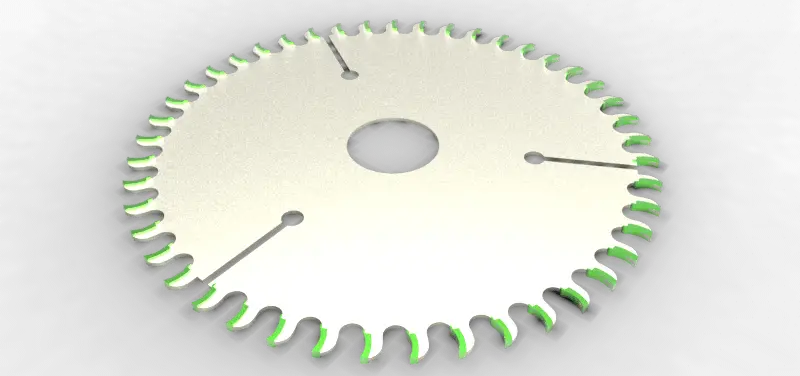
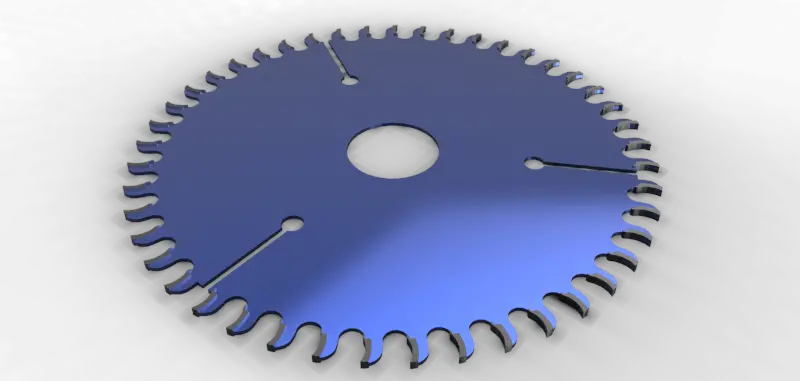
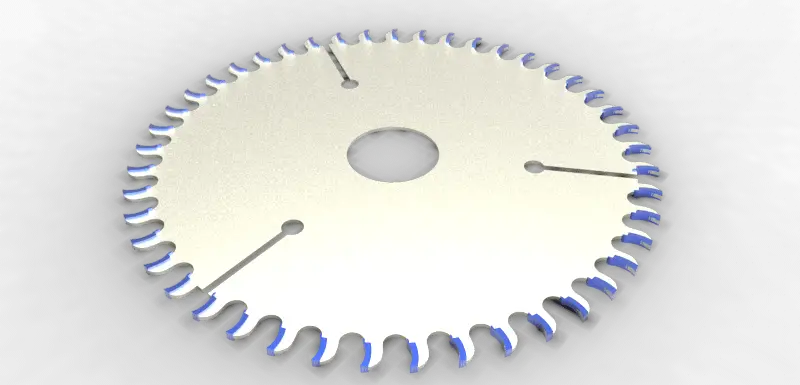
I played with different materiel and render each time, you can look at the images below to see few (from many) image I was able to come out with. This in a real projects allows to made some major decision about the color and the material the final object is going to be made of if this was going to be manufactured.
It is as well possible to play with the direction of the light, to render in a room with the light pointed to a specific direction and many more.
Keyshot is in my opinion one of the easiest CAD rendering software and the quality provided is simple above what you can get with many other software out there.
By the way, Keyshot is not the only option out there. You can use online render cloud services, like Rebusfarm, which is a very popular solution among 3D artists. These guys have more than 16 years of experience in the 3D rendering world.
Your turn, what CAD rendering software are you using?


