Here is another post about designing a furniture in AutoCAD.
Last time we had to design a chair in AutoCAD, but the backrest was not covered in the tutorial.
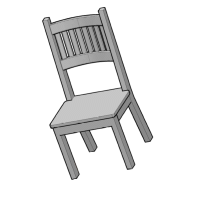
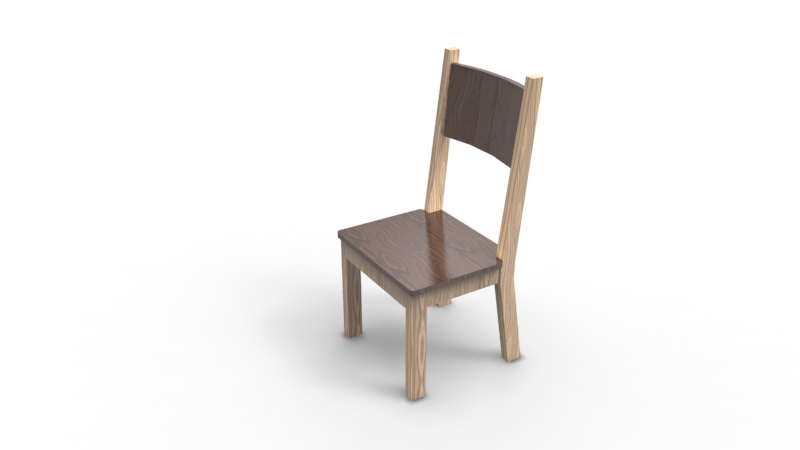
In this post I will try walking you through important steps of modeling the backrest of the late chair we worked on here, and I will introduce a new type of chair you will be able to model at the end of this AutoCAD tutorial.
Last time
To model the backrest of that chair, we need to have some reference objects drawn in 2D and get them to be modeled in a way they fit perfectfly in this already finished model.
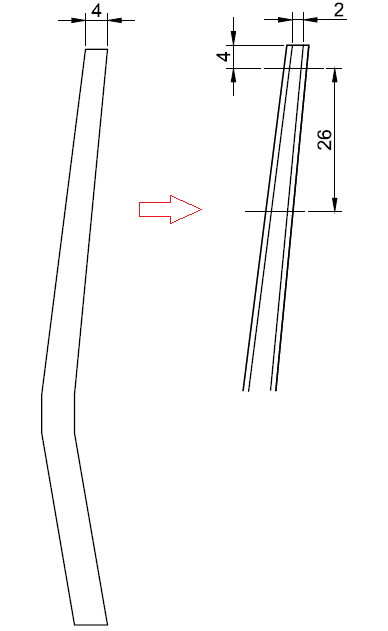
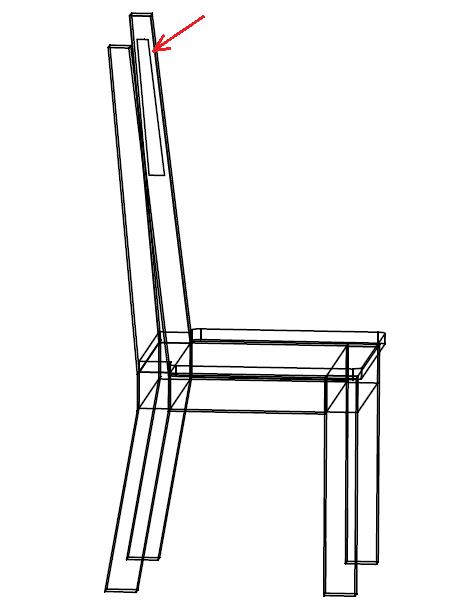
Lets consider we got the following figure. (relatively easy if you followed the last tutorial on modeling a furniture in AutoCAD)
Now what we need to do is the following.
You can easily get those two internal lines using the OFFSET command. OFFSET distance = 1.
Now we need to TRIM it such as having the image below.
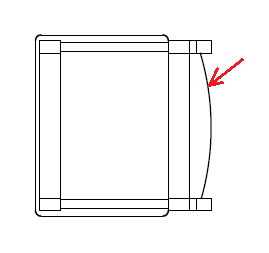
We need a path now. We are going to apply the REGION command on the piece we have just modeled, and try to sweep it along a path for the whole to form the backrest of the chair.
To draw the path, you can simply get on the top view, and get it done easily such as having the following.
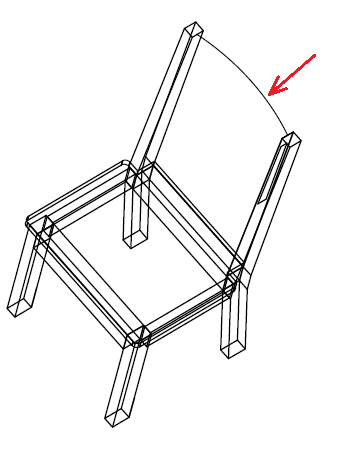
Seen on a 3D view, it will look like this
Now we have all we need to use the SWEEP command.
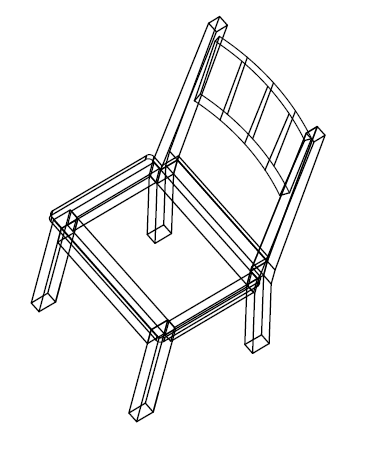
Using the SWEEP command we will end up with the following.
You can now use other commands to smoothen different edges of the modeled backrest to make it look more realistic.
Design a chair in AutoCAD
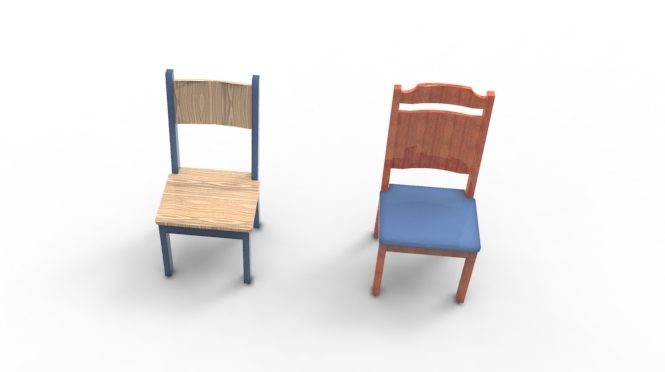
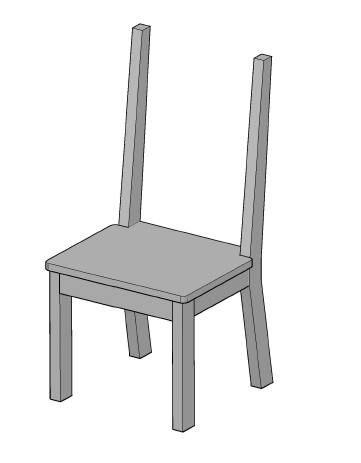
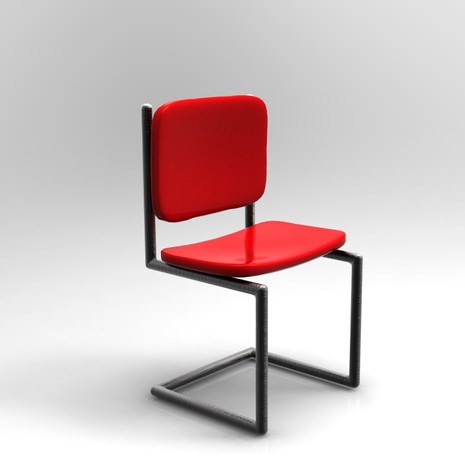
The second chair will be a different model of chair, this one.
How do you actually model a chair like this in AutoCAD.
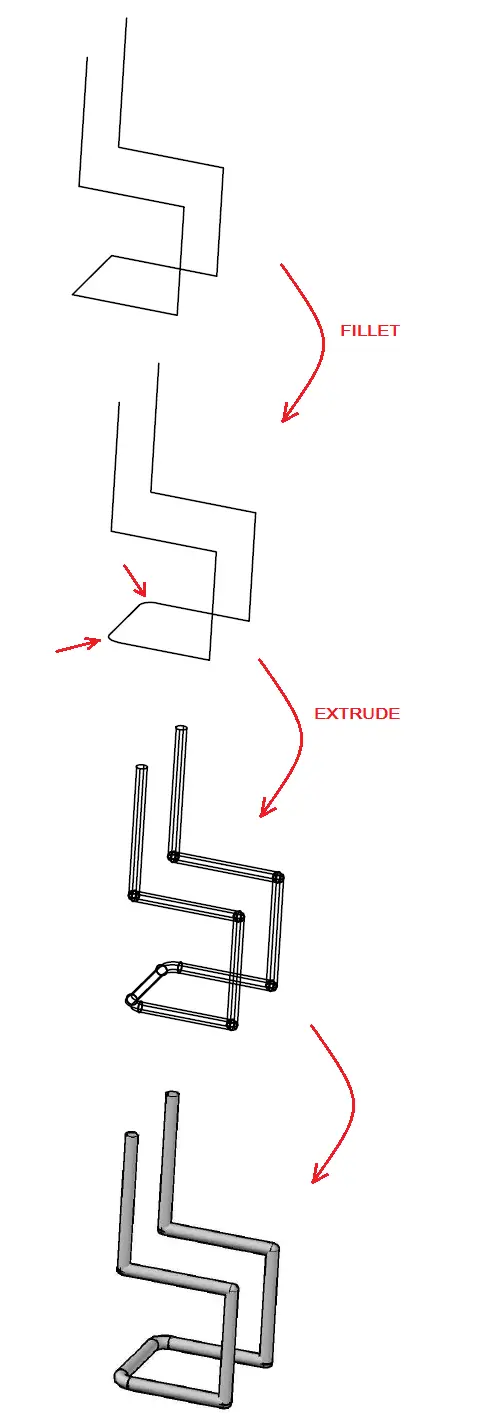
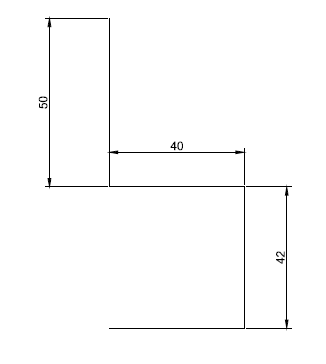
You need to design the “foundation” of the chair.
With the following dimensions
The width of the chair is similar to the one of the first chair we designed above.
Using the same technique as ones we used on the first chair, you can easily model the seat and the back rest of this chair.


Comments
2 responses to “Design a chair in AutoCAD”
[…] this example, we’ll start with a simple wooden chair top rail […]
nice..