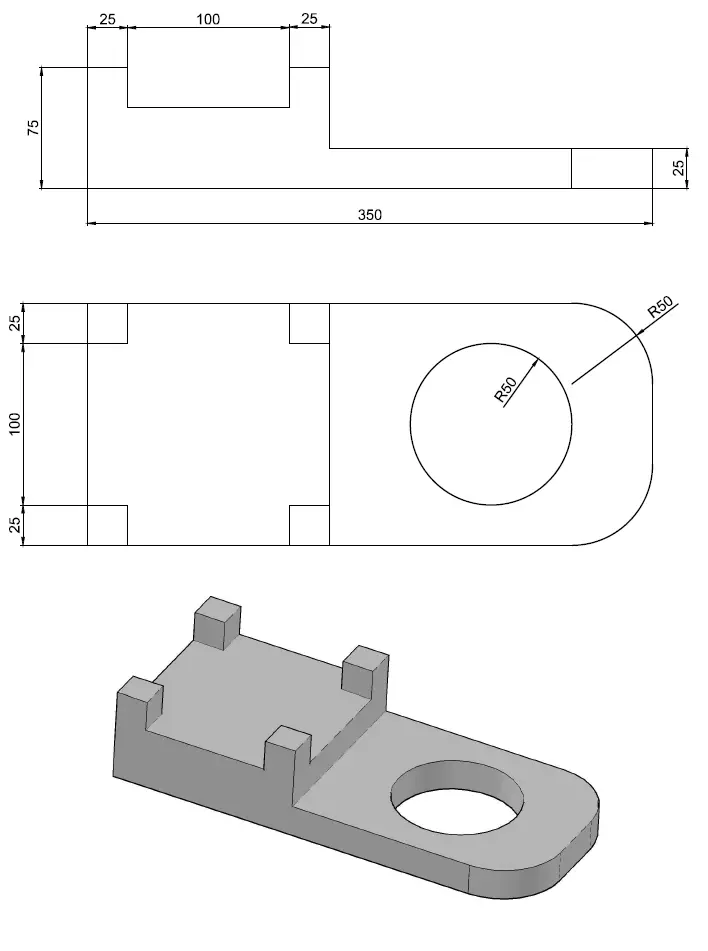
This is a second post of learning of AutoCAD 3D for beginners. The figure below will serve as an exercise for today’s tutorial.
What should be mentioned before diving into the tutorial is, you need to be able to draw the two upper 2D figures in AutoCAD in order to be able to draw it in 3D even though here they just help us have dimensions of the 3D figure to draw.
Two 3D exercises have been solved here, and I recommend you have a look at them, if you did, this one will be a piece of cake.
Step 1
You have to draw figures below, Use the REGION command on each piece the way I did in this AutoCAD 3D tutorial.
Step 2
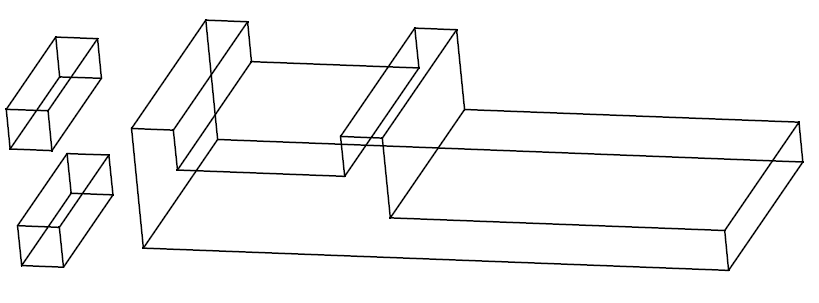
EXTRUDE A, A with 100 and B with 150.
If you are not familiar with the EXTRUDE command, I suggest you read this post on 3D commands in AutoCAD.
The resulting figure should be similar with the one below.
Step 3
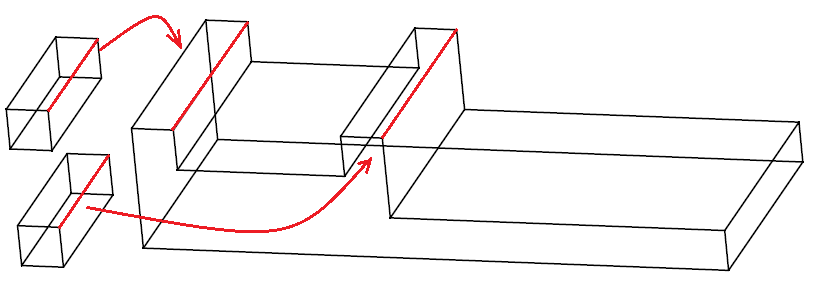
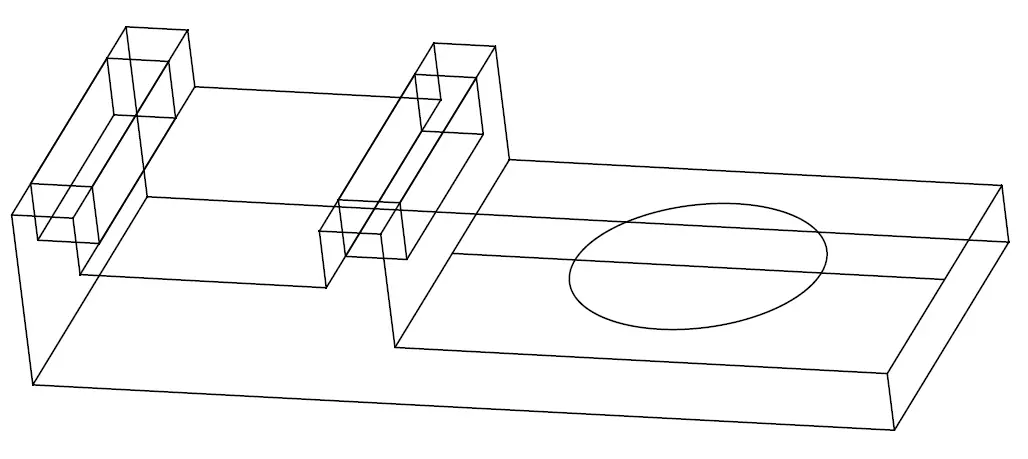
Now we need to move those two pieces on the left into the big piece. Grab each one of the small 3D piece from the center of the red line, and drop them on the center on the red line on the big piece.
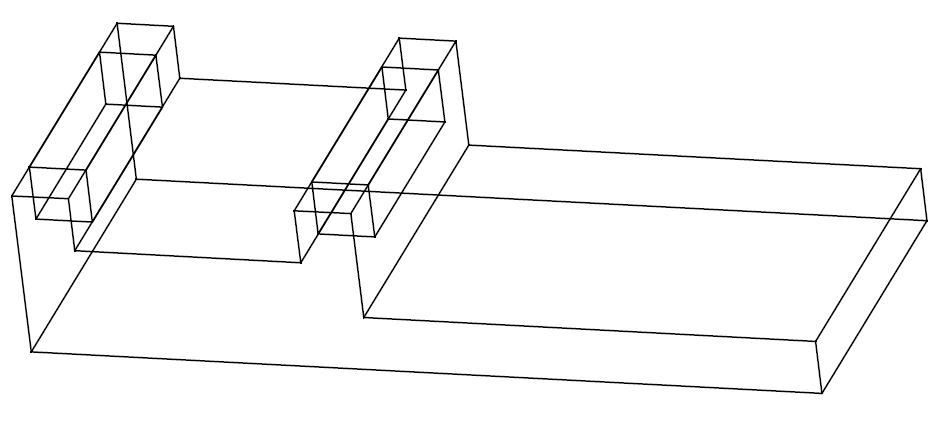
You should end up with something like this.
Step 4
Draw a line on a upper face of the big figure like shown in the figure below. This is just a temporary object which allows us to draw the circle at the center of that face. This line has its two ends stuck on the center of edges it intersects with.
Step 5
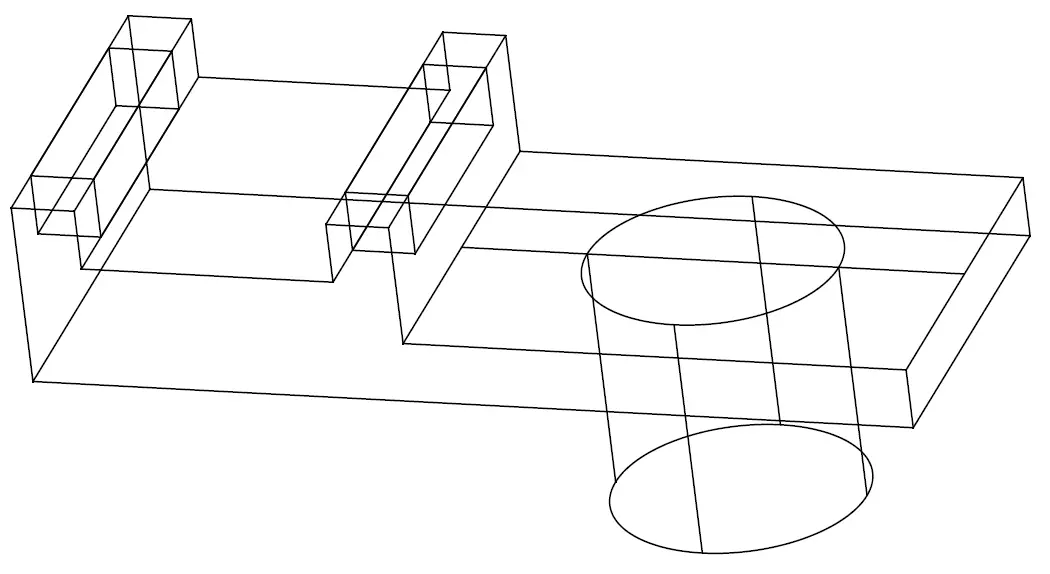
Extrude the circle and delete the reference line we made earlier.
Step 6
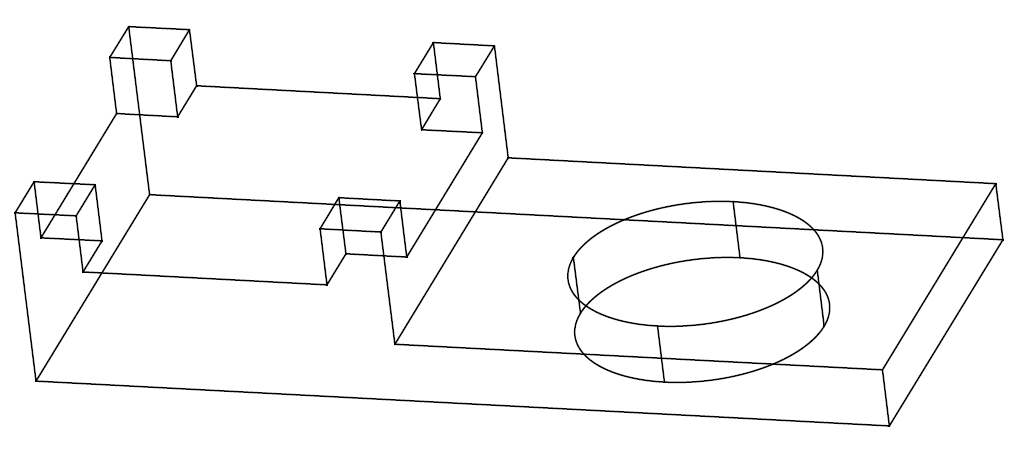
Use the SUBTRACT command and subtract all small object from the big object. (You can learn more about the SUBTRACT command here)
Step 7
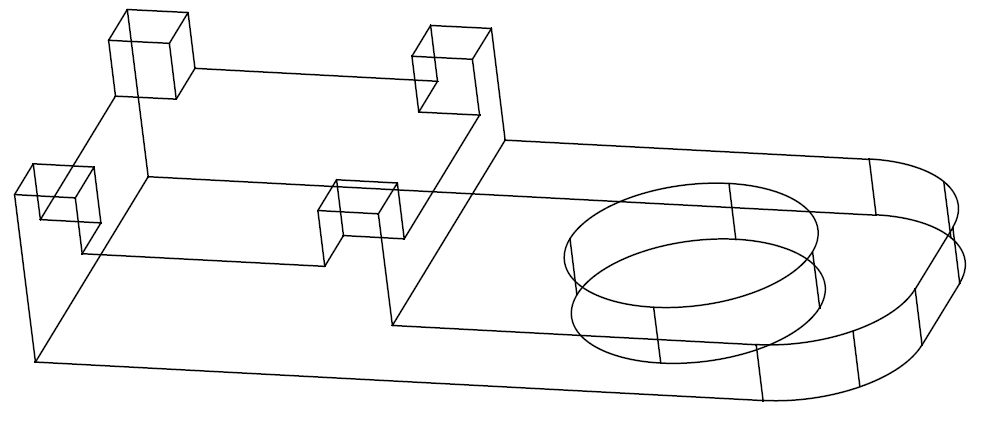
The last thing we need to do is to use the FILLET command to round edges like in the figure below. And we are done with this session 3D AutoCAD’s exercise.
With hope I had you learn something new today, I am looking forward to seeing you around in the next session.


