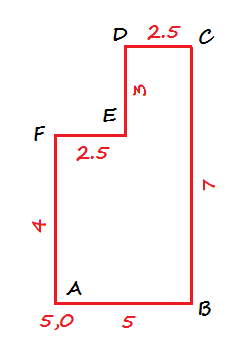
Welcome to Day 2 of our 20 Days of 2D Exercises in AutoCAD. Today we have the exercise below where we are given a basic figure to draw. Our figure has 6 points: A, B, C, D, E and F, and we know the distance of each segment as AB=5, BC= 7, DC= 2.5, DE= 3, EF= 2.5, FA=4.
The coordinate of the starting point is given but is not that important for this exercise. Check 2D AutoCAD exercise Day #1 to see its importance.
To draw this figure.
- Type LINE
- Specify first point: 5,0
- Make sure ORTHO is activated, give a right orientation to your line using your mouse, and type 5
- Orientate your line upward using your mouse and type 7
- Give the left direction to your line using your mouse and type 2.5
- Orientate your line downward and type 3
- Give the left direction to your line and type 2.5
- Orientate your line downward and type 4
- Press ESC
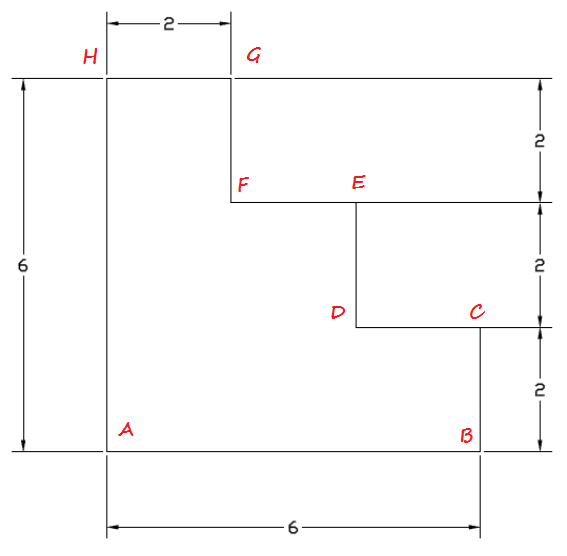
If you do not know how to activate the ORTHO mode, you should read the 9 tips on AutoCAD for beginners. As an example, below is a typical exercise you should be able to perform after following the steps above.
I hope you learned something through this demo. Continue to AutoCAD Exercise Day #3 after you have mastered this tutorial. Feel free to ask question below.
[ws_table id=”3″]


Comments
3 responses to “20 Days of 2D AutoCAD exercises #2”
[…] Day #2, you learned how to draw lines with specific distances. In this exercise, all distances are given […]
The verb form of “orientation” is “orient” not “orientate.” 🙂
I drew the first shape and got this. What am I doing wrong?