NX is a very powerful CAD software by the German’s company Siemens
It is a widely used software nowadays.
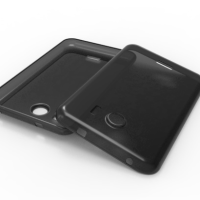
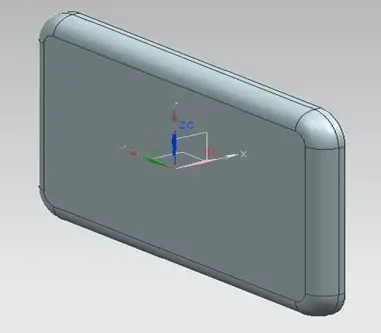
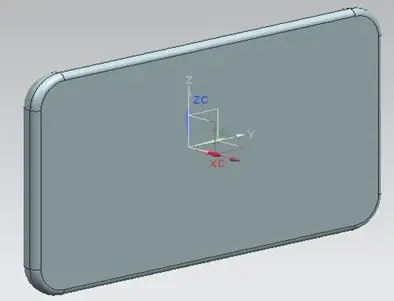
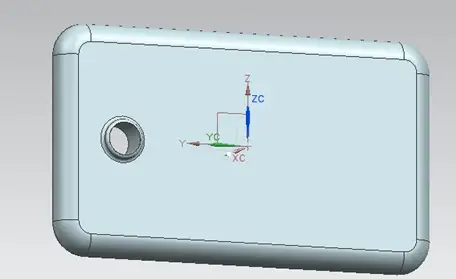
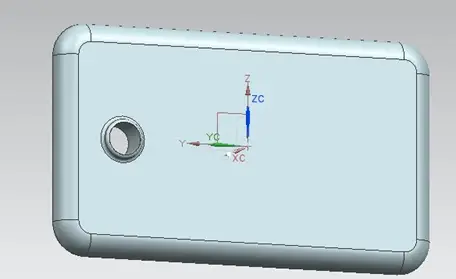
In this NX CAD tutorial, we want to create a Protective Back Cover of mobile in NX 8.0. A Protective Back Cover is usually made up of Silicone. It absorbs minor shocks and protects a mobile phone from damages.
NX CAD tutorial
Step 1
When you start NX 8.0 and click to start a new Model, first of all always set the folder where your model will be saved.
After setting it and entering the environment, go to Insert and select Sketch in Task Environment.
You can also select Sketch option, but it will remain in 3D environment only and you can sketch there using Direct Sketch tools.
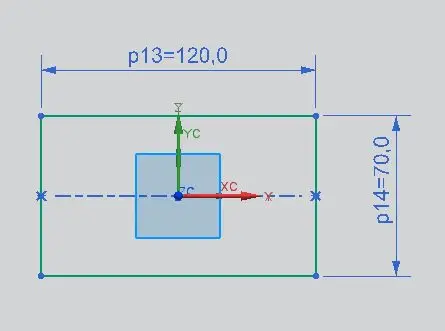
Draw a rectangle of dimensions suitable for your mobile on any plane. You will get all the Sketch Tools at the top.
Use the Rectangle option and draw the following sketch.
To make the sketch fully constraint, use Constraints option.
You can give necessary dimensions to the geometry using Inferred Dimensions
After completing the sketch, click on Finish Sketch to return to the 3D environment.
Step 2
Now, we have to add material to the sketch. Use the Extrude command to add material.
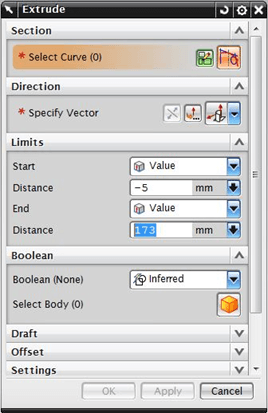
When you click on Extrude options, it will open a dialog box shown below.
You have to select the sketch we have drawn and give appropriate direction to extrude. There are two limits as you can see. Set Start distance to 0mm and End distance to thickness of your mobile.
There is a Boolean option provided.
In NX, it treats each feature as different body and hence we are required to operate these features using Boolean operations.
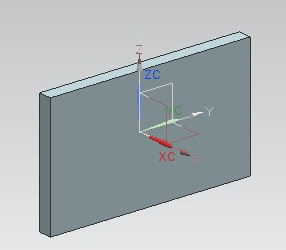
After setting the limits, drag down the side bar of the dialog box, there you will find Preview option. See the preview and click OK. You will get following body.
Step 3
After getting the base object, we will give rounds to sharp edges. You can give round using Edge Blend option.
First select corner edges and then select bottom edges and give round.
Then select edges of the front face and give them a smaller (smaller than ones we’ve given above) radius of about 1 mm.
Step 3
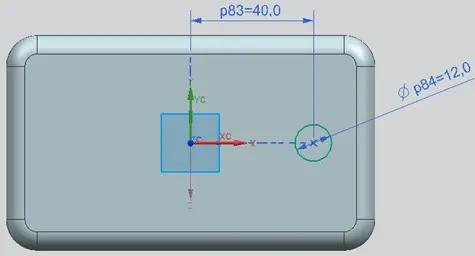
Now we want an opening for the camera. Draw a circle on the back face as shown.
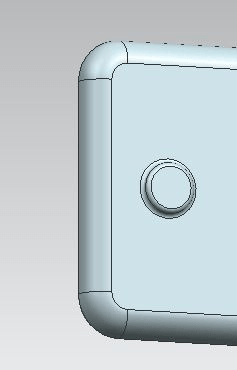
Using the Extrude option add material with 3mm distance. In Extrude dialog box, select Unite as Boolean operation. And click OK. Give proper rounds at the edges.
Using Hole option we will create opening. In Hole dialog box, select Subtract as Boolean operation. And create the hole.
Step 4
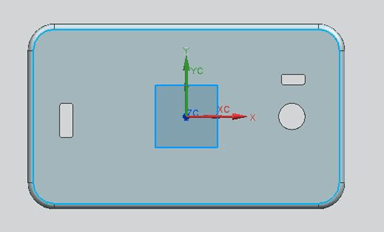
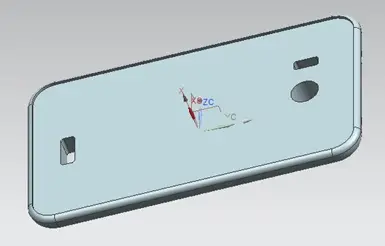
We also need openings for flash, speaker, 3.5mm port and a charging port. Draw sketches at proper places with appropriate dimensions and remove the material using Subtract.
Step 5
On the front face, draw a sketch as shown and remove material up to 2 mm distance. You can use Project Curve option from Sketch Tools to draw the sketch. While using Project Curve, select edges only. Do not select the entire face as it will make unnecessary curves in the sketch.
And give the using Subtract.
Step 6
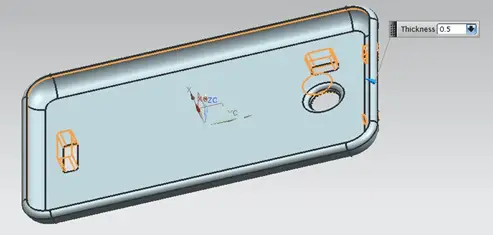
Using Shell option to make the above object hollow. While using Shell you have to use Remove Faces, Then Shell. Select the faces necessary to remove, see the preview and click OK.
While giving Shell one thing should be kept in mind, shell thickness must be less than or equal to minimum round given in the model.
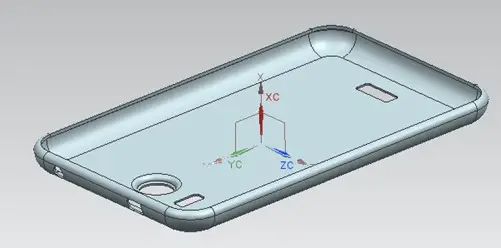
Your mobile protective case is now ready. Using NX rendering option or dedicated CAD Rendering software, render it for it to have a nice look.

