A wrench (also called a spanner) is a tool used to provide grip and mechanical advantage in applying torque to turn objects—usually rotary fasteners, such as nuts and bolts—or keep them from turning
Here is a short list of wrenches which you can have more details about in wikipedia
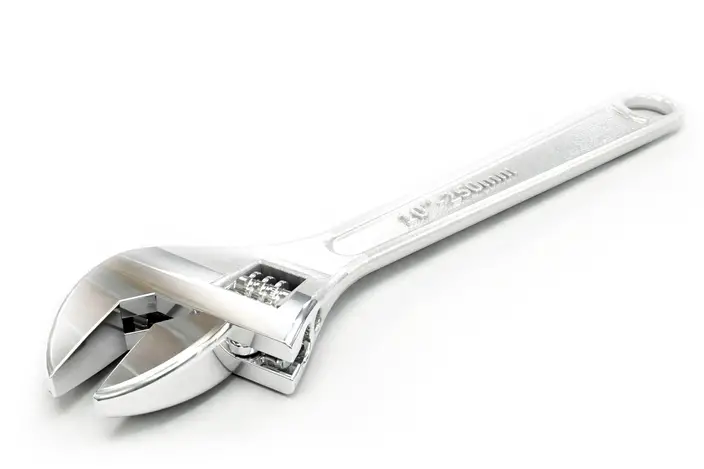
The box-end wrench, the spark plug wrench, the combination wrench, the open-end wrench, the flare-nut wrench, the ratcheting box wrench, the Saltus wrench, the spanner wrench, the slammer wrench, the adjustable wrench (seen on the image above), the self-adjusting wrench, the monkey wrench and many others.
Draw a Wrench in AutoCAD.
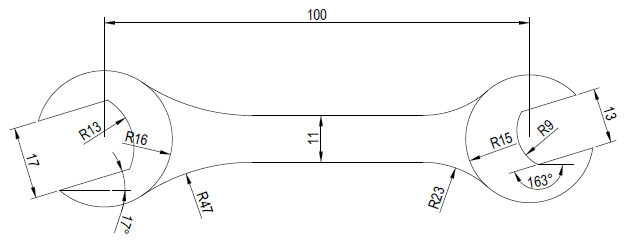
We are going to have fun drawing the open-end wrench below using AutoCAD.
And Yes!
The most tricky part to draw are those two ends.
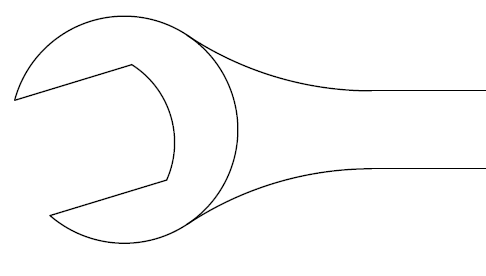
You want to be able to draw this
And use the same technique to have the other end done.
May be if I had shown the following figure to you, it will look easier, let try this, look at the picture below
Easier now?
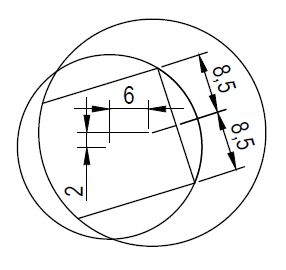
Well! let me explain, drawing those two circles with their centers placed one away from each other with the dimension mentioned on the image will have almost all done.
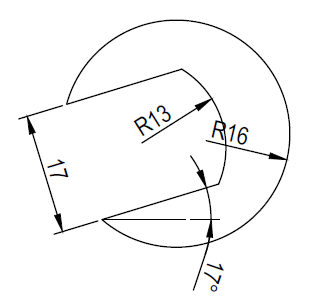
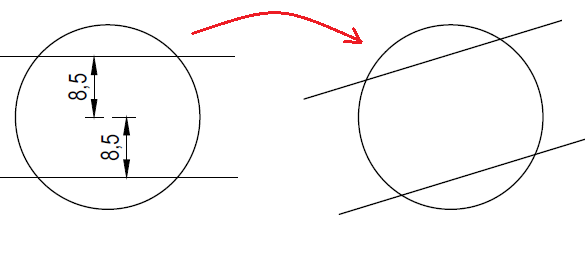
To obtain the figure inside, you can proceed like this
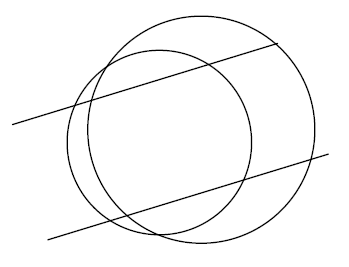
Draw the figure on the left and rotate it with an angle of 17 degree about the center of the circle. Using this and the instructions given earlier, you will end up with this
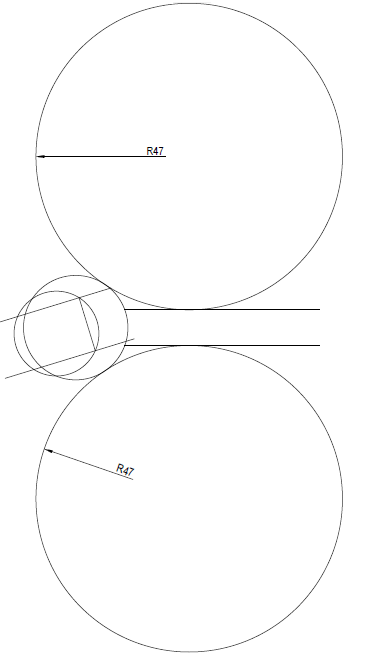
Another Hint you may need is the following. If you had a look at this AutoCAD exercise, it should be not problem getting the following image
After cleaning up you should end with the following one
Use what you just learned to have the other end done.
What if we wanted to use this model to get the 3D equivalent of this wrench.
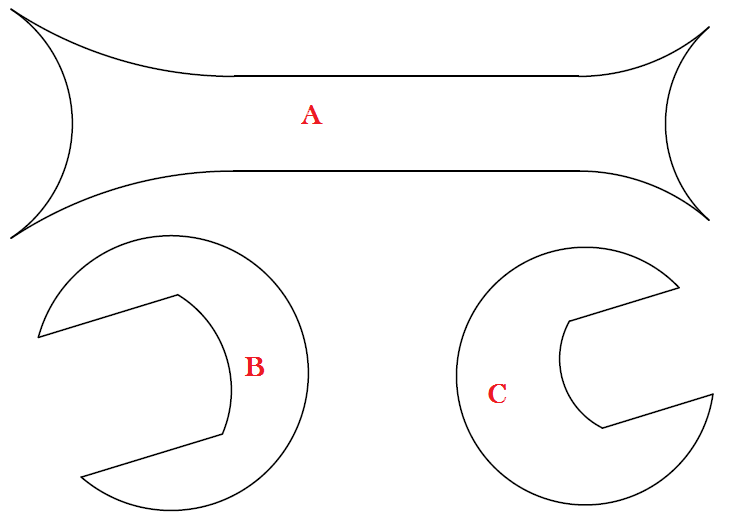
We will piece it up like this
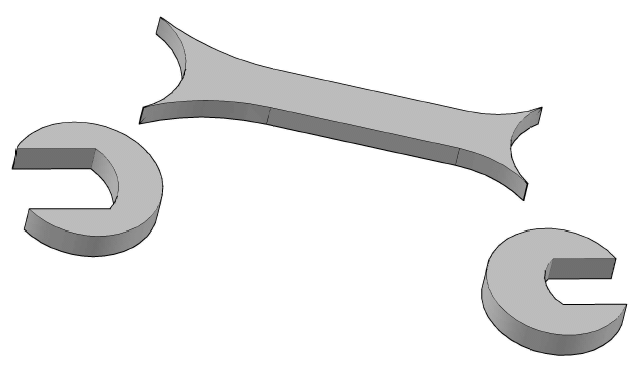
If we EXTRUDE A with 5, B and C with 6 we are getting this.
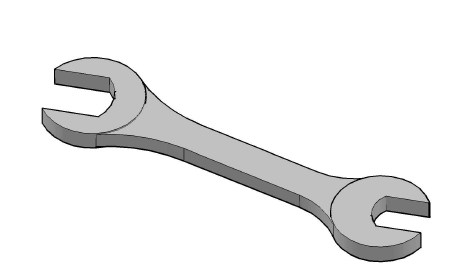
Bringing them together
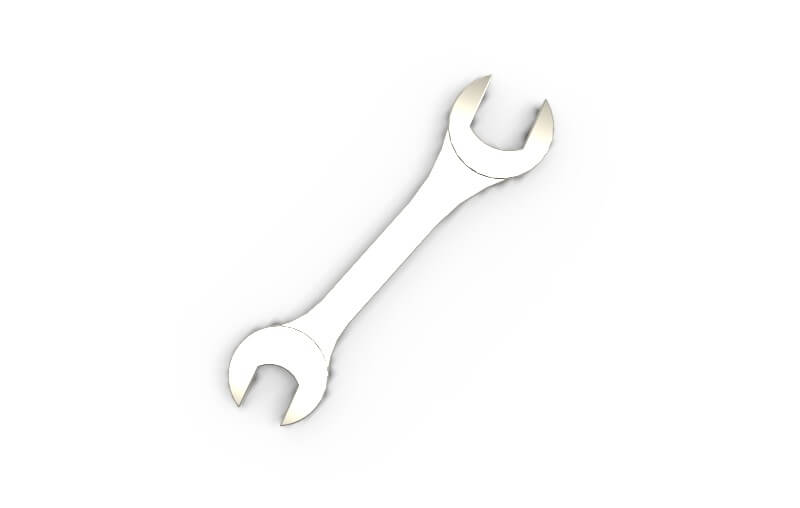
And rendering the final image. (You can use the FILLET command to polish those edges for them not to be too “sharpy”)
You have just learned how to draw a wrench in AutoCAD.



Comments
3 responses to “Draw a Wrench in AutoCAD”
I don’t get the offset of the circles… how do you know it’s 6 and 2, what about the other side? How do I figure out the offset of those circles?
Did you get the solution to this? Please let me know I’m also stuck at this
I got the solution