In Part 1 of the SolidWorks Configuration Tutorial, we covered how to create multiple configurations for a part file. In this tutorial, we’ll look at how to use that configured part to create a configured Assembly file.
There are inevitably times when you’re using SolidWorks and have a great part or assembly, but would like to be able to turn on or off various parts, features, mates, or other properties within the files to show various versions – “configurations” – of the same part or assembly. These reasons are precisely the purpose of SolidWorks configurations. By defining multiple configurations within a single part, you can keep the number of files you need to use to a minimum, and have a very flexible model.
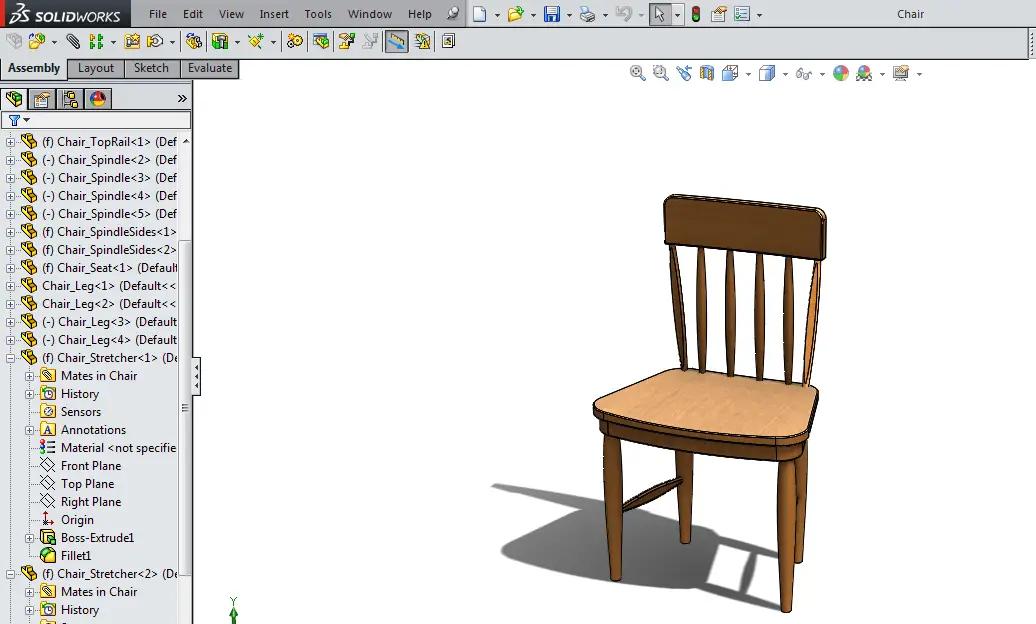

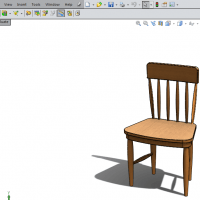
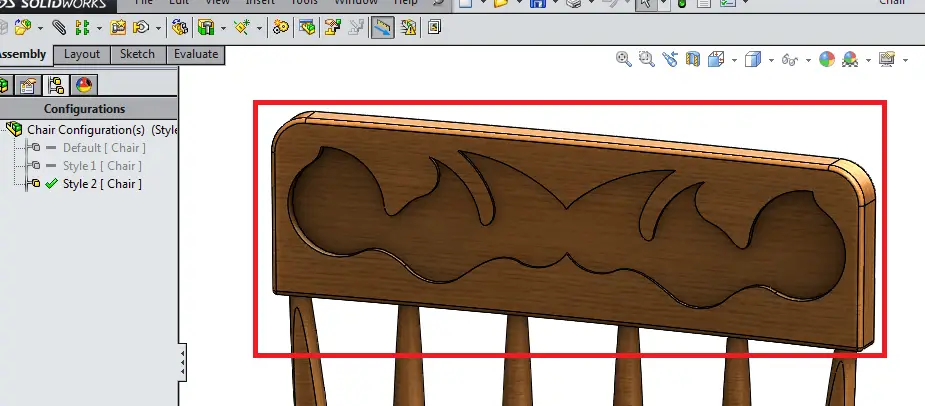
Taking a look at the chair assembly file, notice that it is comprised of a set of subcomponents – a top rail, a seat, a series of different spindles, legs, and stretchers. These parts have been arranged using various mates to form an assembly – say, “Chair.SLDASM.”
Instructions for SolidWorks Configurations
We are going to use SolidWorks configurations to define two different styles of chair. This will be accomplished by taking advantage of the configurations at two levels – the Solid Part level, and the Solid Assembly level.
Keep in mind as we move through this tutorial that SolidWorks configurations can be used for many different types of properties. In this example, we will be using configurations at the Assembly level to select between one of two configurations at the part level.
At the part level, configurations will be used to suppress or unsuppress a set of Extrude Cut features which create different patterns on the top rail. This is the basic method that configurations provide in this example for creating a flexible, configurable assembly within a single file. It would seem to make a lot of sense in this type of case!
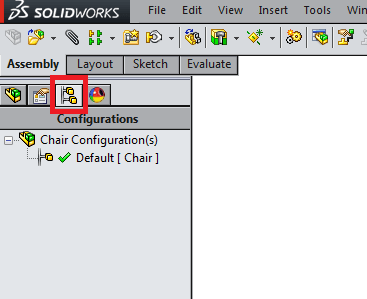
Click on the Configuration Manager Tab located in the upper left hand corner of the screen.
Create a New Configuration
Notice that the only available configuration in “Default.” We’re going to create several new configurations to define our options for this Chair assembly file.
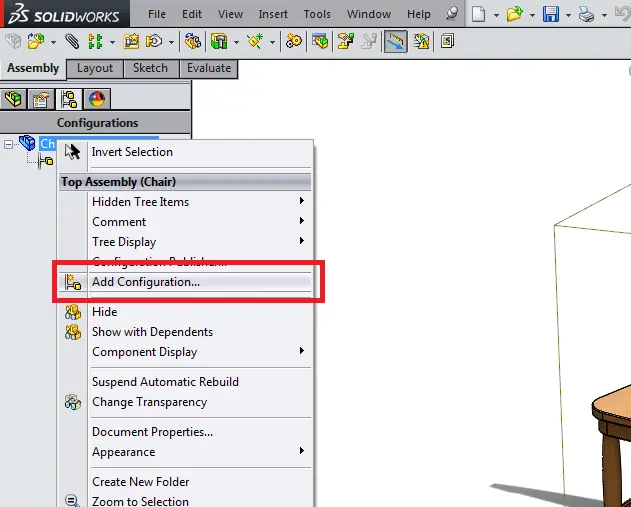
- Start by right-clicking on Chair Configuration(s)
- Select Add Configuration…
- Name the new configuration “Style 1” and give it a description “Top rail Style 1”
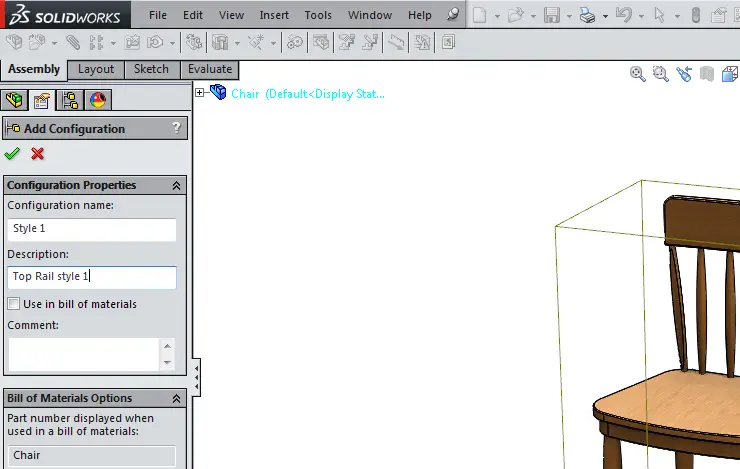
- Select the green check mark
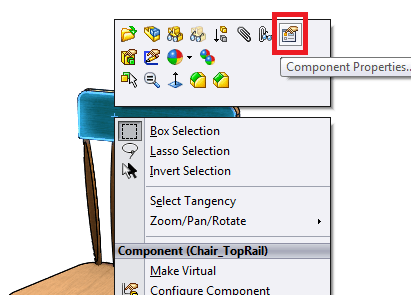
- Right click on the top piece of the chair (the “top rail”)
- Select the Properties Icon in the upper right-hand corner
Create the Wooden Chair
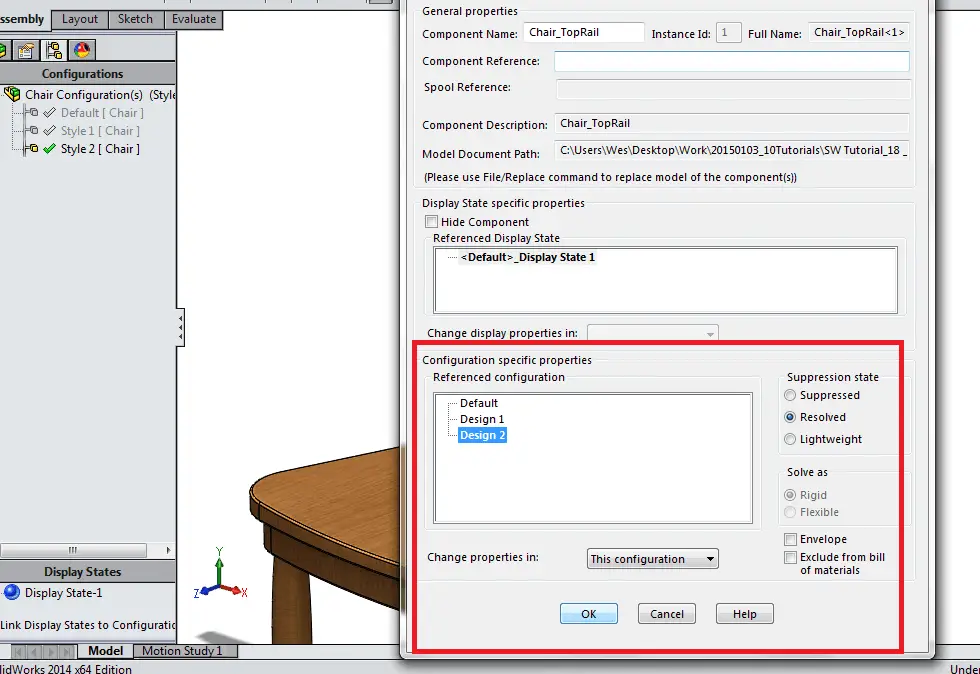
Now, in this “Properties” window – notice that in the Configuration Specific Properties box, this part file itself shows the three referenced configurations – Default, Design 1, and Design 2. See the image below.

Select “Design 1” and select OK. This will turn on the “Design 1” configuration in this part.
Repeat the process of creating a new assembly configuration, turning on “Design 2” this time.
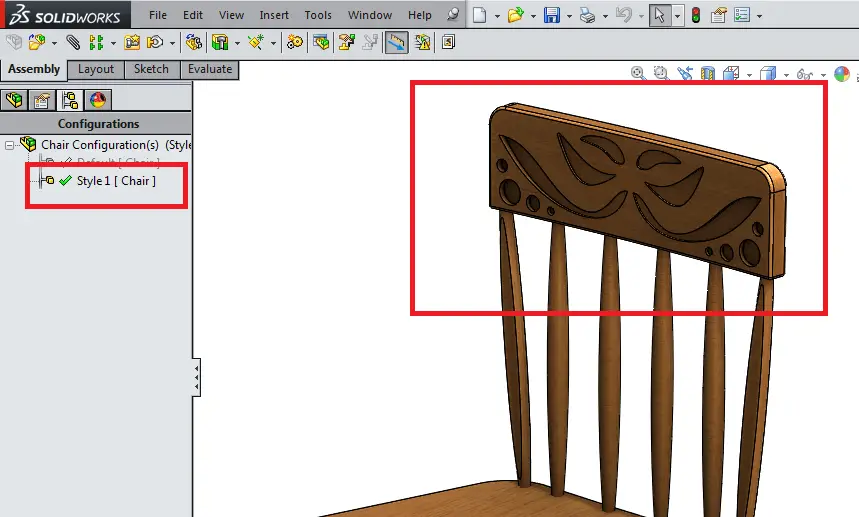
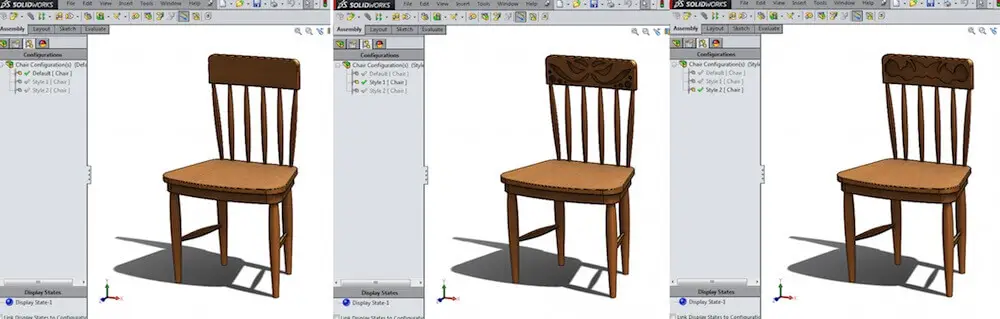
Notice that the second design of the top rail appears in the assembly.
Also notice, now, that you are able to double-click through the three different configurations of the chair assembly file, activating the subsequent top rail configurations, and can now represent different variations all within one single file!
Video Tutorial
This tutorial on YouTube is also a good resource as a SolidWorks configuration tutorial.
Final Thoughts
This was Part 2 of 2 of the SolidWorks configuration tutorial. Visit Part 1 of 2 for instructions on how to create the rail design of the chair as shown above.
Configurations are very powerful and can save you a good amount of time. Try to apply some of these techniques to these SolidWorks drawing tutorials.
Leave a Reply