At 12CAD.com, we like practice oriented tutorials. In other words, we like teaching an important topic while showing how to use it in a real example.
Sometime ago, we laid out a series of AutoCAD exercises helping you learn while practicing. It was a great success and thus we are doing the same for Draftsight.
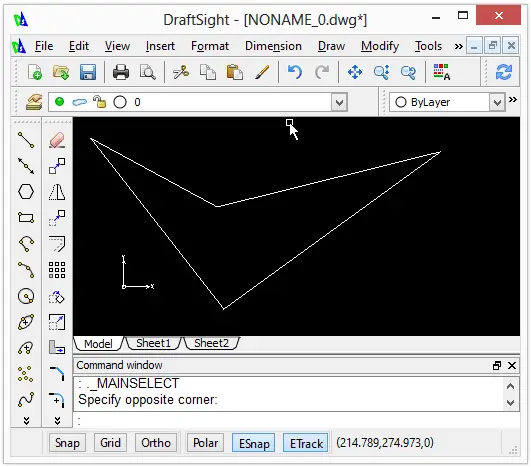
In general about Draftsight, I would like to mention that using AutoCAD or Draftsight would not be too different from a beginners point of view. Only a couple of things might look different here and there.
The Draftsight tutorial can at the same time be applied on these exercises, but before trying them, I want to make a few comments here about what it is like to use Draftsight for the first time.
Let’s make use of some basic commands and apply them in an exercise.
I need to mention the use of the ORTHO mode before proceeding. The ORTHO mode helps you have exclusively straight lines in a vertical or horizontal direction when it is activated.
Alright! Now we can start.
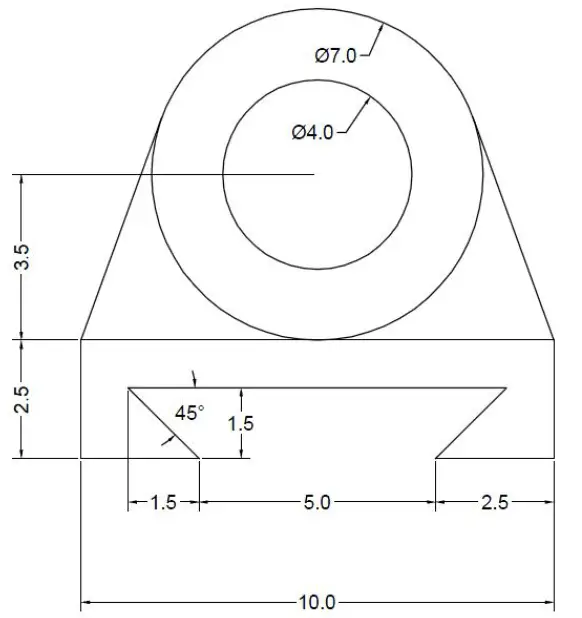
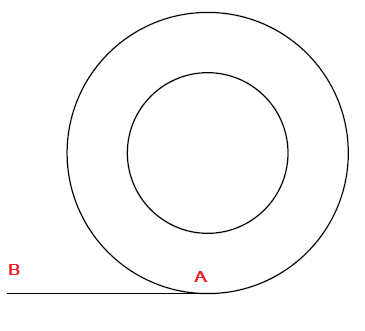
Use the LINE command to draw a circle with diameter 7 units and a circle with diameter 4 units both having the same center.
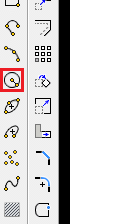
To draw a circle, you need to use the Circle command.
After a click on the icon, you will see the following lines appear in the command window.
Options: 3Point, 2Point, Ttr, TTT, Enter to exit or Specify center point»
Click on the drawing window to indicate the center point of the circle.
Now type “D” and Enter 7 to draw a circle with diameter 7
Do the same to draw the circle of diameter 4, but make sure ESnap is activated, which allows you to choose the same center of the previous circle.
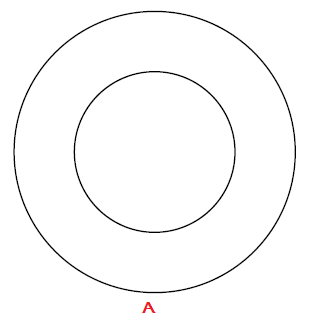
You should at this point have both circles drawn.
Draw a line (5 units) starting from the point A. Make sure ESnap and ORTHO are activated while drawing the line.
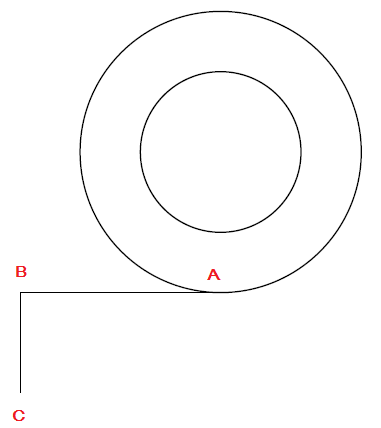
Now, draw a line from the point B to C (2.5 units).
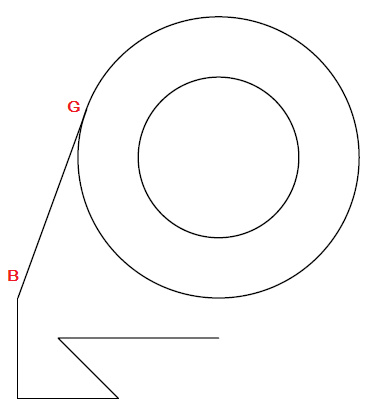
Draw the following lines starting from the known point to the unknown point.
Joining E and F with a line will be easy, since we have already drawn elements having these 2 points belonging to them.
Now delete AD, and draw the line BG.
(Start from the point B going upward. Once you get to where point G is to be, hover around that position and let Draftsight show you were to drop the other end of your line)
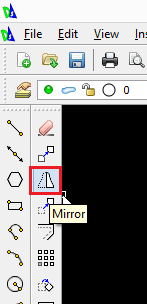
Next, you can simple use the MIRROR command on what we have to get the right part of this design.
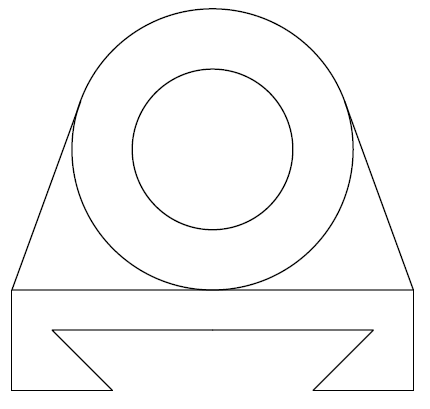
An in the end, the final design is shown below.
This same exercise was tackled on the third day of the last series of 2D AutoCAD exercises, you may need to have a look at how we used another approach to model it last time.
You can get more information about Draftsight, when we considered it to be the best alternative to AutoCAD.
Basic Draftsight tutorial
[ws_table id=”6″]
Draftsight Demos
[ws_table id=”7″]
We hope this Draftsight tutorial was a good learning experience. It is always beneficial to understand different CAD softwares, because you never know what task/job may require it. The major benefit here is that Draftsight is similar to AutoCAD, thus making the learning curve small given that you know AutoCAD. To take your skills to the next level, we recommend the 100 CAD exercises below. Check it out.




Comments
3 responses to “Draftsight Tutorial”
[…] that need to be known about the Modify toolbar in Draftsight, coming soon the second part of this Draftsight tutorial where we will talk about other tools of this […]
Good DraftSight tutorial. Nice explanation and diagrams.
[…] While we are discussing about the best replacement to AutoCAD, I would like to point out the set of experiment will be done on 2D exercises I already solved using AutoCAD. Therefore, this will show the benefits and disbenefits of using DraftSight. […]